How to Paint a Room
Welcome to our step-by-step guide on how to paint a room! Whether you’re a DIY enthusiast or a first-time painter, this guide will provide you with everything you need to know to transform your space with a fresh coat of paint. From selecting the perfect paint colours that reflect your personal style to mastering painting techniques and finishes, we’ve got you covered. So, let’s get started!
Key Takeaways:
- This guide will provide you with a comprehensive understanding of how to paint a room.
- You’ll learn how to choose the right paint colours, gather necessary tools and supplies, prepare the room, apply paint to walls, add texture with finishes, clean up and add final touches.
- Professional room painting services can be hired if you prefer to leave the job to the experts.
- Proper planning, preparation, and technique are important for a successful room painting project.
Selecting the Right Paint Colors
Choosing the perfect paint color for your room can be a daunting task. With so many shades and hues available, it’s easy to feel overwhelmed. But fear not, with a little guidance, you’ll be able to select a color that reflects your style and creates the desired mood for your space.
Best Room Paint Colors
When selecting a paint color, consider which shades work best with the natural light in your room. Lighter colors tend to make spaces feel larger and brighter, while darker colors can create a cozy and intimate atmosphere. Neutral colors, such as beige, grey, and taupe, are versatile and can work well with a variety of decor styles. However, don’t be afraid to add a pop of color to make a bold statement or inject personality into your space.
TIP: Create a mood board with pictures of spaces you admire or that inspire you. This will help you identify which color schemes and styles resonate with you.
Room Painting Ideas
If you’re unsure of which color to choose, draw inspiration from your existing decor. Which colors appear most frequently? Which shades would complement them? Additionally, consider how you want to feel in the space. Do you want a calming retreat or an energizing environment? Use these emotions as a guide when selecting colors.
Remember, paint can transform a room and create a cohesive and polished look. Take your time and select a color that makes you happy and reflects your personal style.

Gathering Room Painting Tools and Supplies
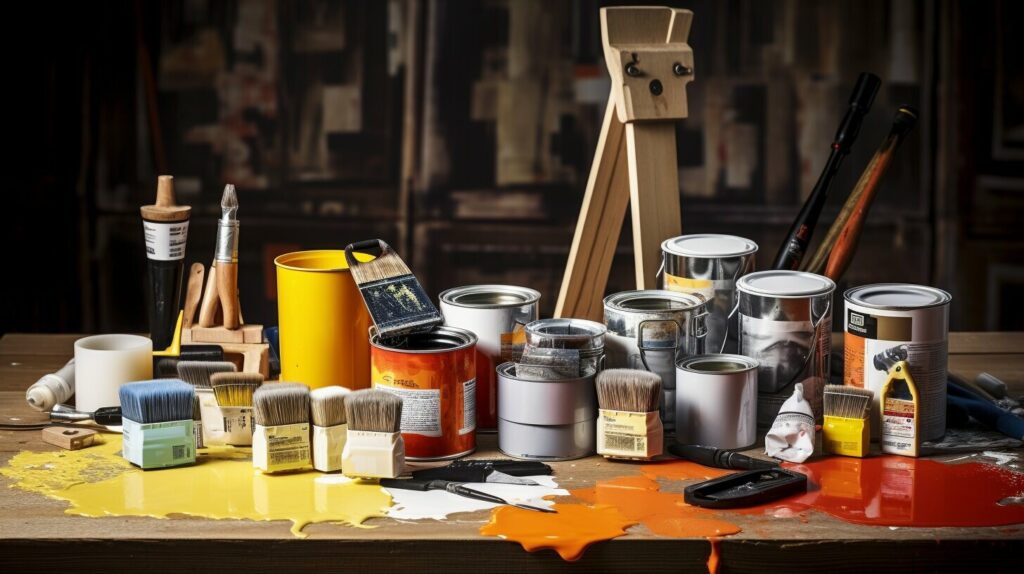
Before you begin painting your room, you’ll need to gather the necessary tools and supplies. Here’s a quick checklist of what you’ll need:
| Tools | Supplies |
|---|---|
| Paintbrushes of various sizes | Paint |
| Rollers with different nap lengths | Drop cloths or plastic sheeting |
| Painter’s tape | Paint trays |
| Paint can opener | Paint stirrer |
| Putty knife | Primer (if necessary) |
| Sandpaper | Paint thinner or cleaning solution (if using oil-based paint) |
Make sure to choose quality tools and supplies to ensure a smooth and efficient painting process.
Pro Tip: Consider investing in a paintbrush comb to help clean and maintain your brushes.
Preparing the Room for Painting
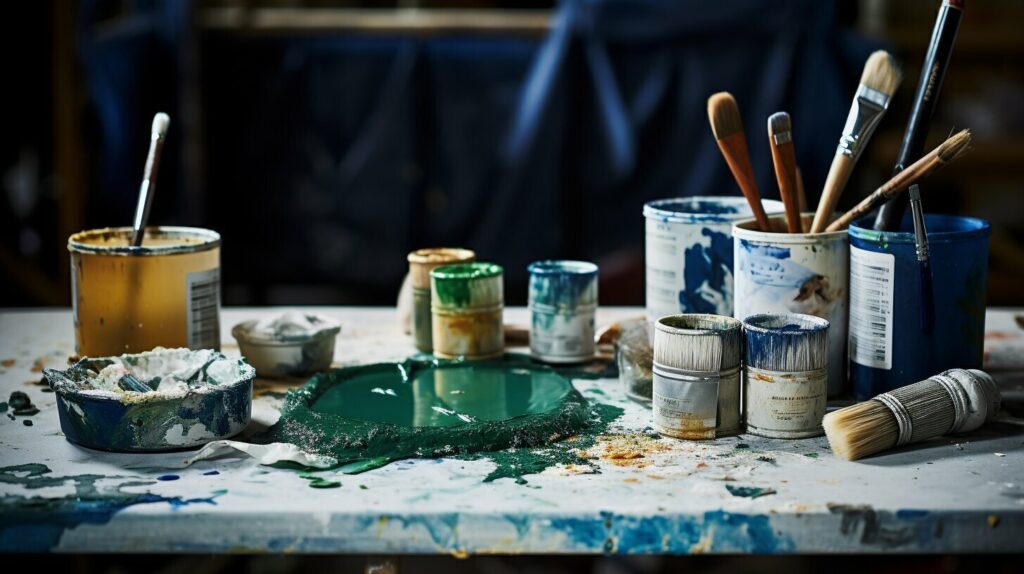
Before you begin painting your room, it’s essential to prepare the space to ensure a smooth and successful paint job. Follow these room painting tips to get the preparation right and achieve a professional-looking finish.
Gather Your Supplies
Before starting, make sure you have all the necessary room painting tools and supplies, such as paint, paintbrushes, rollers, painter’s tape, drop cloths, sandpaper, and a bucket. Having everything ready will help you work efficiently and avoid unnecessary interruptions.
Clear the Room
To avoid damaging your furniture and flooring, clear the room as much as possible. If there are items that can’t be moved, cover them with a drop cloth or plastic sheeting. This also includes removing switch covers, vents, and light fixtures that could get in the way or be damaged during the painting process.
Clean the Walls
Next, clean the walls thoroughly. Dust and grime can affect the paint’s adherence, so use a damp cloth to wipe down the walls. If there are any stains or grease, use a mild detergent to clean them off and let the walls dry before painting.
Repair Imperfections
After cleaning, inspect the walls for any damage or imperfections, such as cracks, holes, or dents. Use spackle or putty to fill these in and let them dry before sanding them smooth. This step will ensure a smooth and even surface for the paint to adhere to.
Protect Surfaces
Finally, protect the surfaces you don’t want to paint. Apply painter’s tape to the edges and corners where the walls meet the ceiling, floor, and trim. Cover the floor with a drop cloth or plastic sheeting to avoid drips and spills.
Applying Paint to the Walls
Congratulations, you’re ready to start painting your room! Here are the step-by-step instructions for applying paint to your walls:
- Start by cutting in the edges of the walls with a paintbrush. This means painting a 2-3 inch border around the ceiling, floor, and corners of the room.
- Next, use a roller to apply paint to the larger areas of the wall. Start at the top of the wall and work your way down, using long, even strokes.
- Be sure to use a sufficient amount of paint on the roller to avoid leaving streaks or uneven coverage. You may need to reapply paint to the roller multiple times throughout the process.
- When painting adjacent walls, be sure to blend the paint at the corners to avoid visible lines or differences in tone.
- Paint the trim and details last, using a smaller brush. This will ensure a clean finish and prevent accidental smudging or dripping on the painted walls.
- Allow each coat of paint to dry completely before applying another coat. This will prevent uneven coverage and ensure a smooth, resilient finish.
Remember to use the appropriate paint for your walls and the desired finish. Matte paints provide a flat, non-reflective finish, while gloss paints offer a shiny and reflective surface. Satin and eggshell finishes fall somewhere in between these two options, with a subtle sheen that provides durability and easy cleaning.
Finally, if you’re unsure about the best room paint colours to use, consider testing small patches of different paint colours on your walls. This will give you a sense of how they look in various lighting and throughout different times of the day.
Adding Depth and Texture with Paint Finishes
Choosing the right paint finish can make a significant difference in the appearance of your room. There are several types to choose from, each with its own unique characteristics.
| Finish | Description |
|---|---|
| Matte | A flat finish that does not reflect light. It can be great for hiding imperfections but can be difficult to clean. |
| Eggshell | A soft, low-sheen finish that reflects more light than matte. It is easy to clean and can be used in most rooms. |
| Satin | A smooth, even finish with some gloss. It reflects light but does not show imperfections. It is ideal for high-traffic areas like hallways and kitchens. |
| Gloss | A high-shine finish that reflects light and is easy to clean. It is best for accents and trims but can be used on walls for a dramatic effect. |
Once you have selected your finish, there are a few techniques you can use to add depth and texture to your walls:
- Sponging: Dabbing a sponge onto the wall to create a textured effect.
- Ragging: Using a rag to create a unique textured finish.
- Stencilling: Adding a repeating pattern to your walls using a stencil and paint.
- Striping: Using painter’s tape to create horizontal or vertical stripes.
Adding depth and texture to your walls can give your room a unique personality and make it feel more inviting. Experiment with different finishes and techniques to find the perfect look for your space.
Cleaning Up and Final Touches
Now that you’ve completed your painting project, it’s time to clean up and add any final touches. Follow these simple steps to ensure a successful finish:
Step 1: Cleaning Your Tools
Properly cleaning your brushes and rollers is essential for their longevity and consistent performance. Start by scraping off any excess paint, then rinse with water or paint thinner (depending on the type of paint used) until the water runs clear. Hang them up to dry before storing them away for your next project.
Step 2: Removing Painter’s Tape
Painter’s tape is a great tool for achieving clean lines, but it can be tricky to remove without damaging your freshly painted walls. To remove it, slowly pull it back at a 45-degree angle, being careful not to pull too hard or too quickly. If any paint does come off with the tape, use a touch-up brush to fill in the gap.
Step 3: Inspecting the Finished Result
Once everything is cleaned up and the tape is removed, take a step back and inspect your work. Look for any spots that may need touch-ups or areas where the paint may have dried unevenly. Use a small brush to touch up any imperfections or uneven spots.
With these final touches complete, you can now sit back and enjoy your newly painted room. Whether you tackled the project yourself or hired a professional, a fresh coat of paint can completely transform the look and feel of your space.
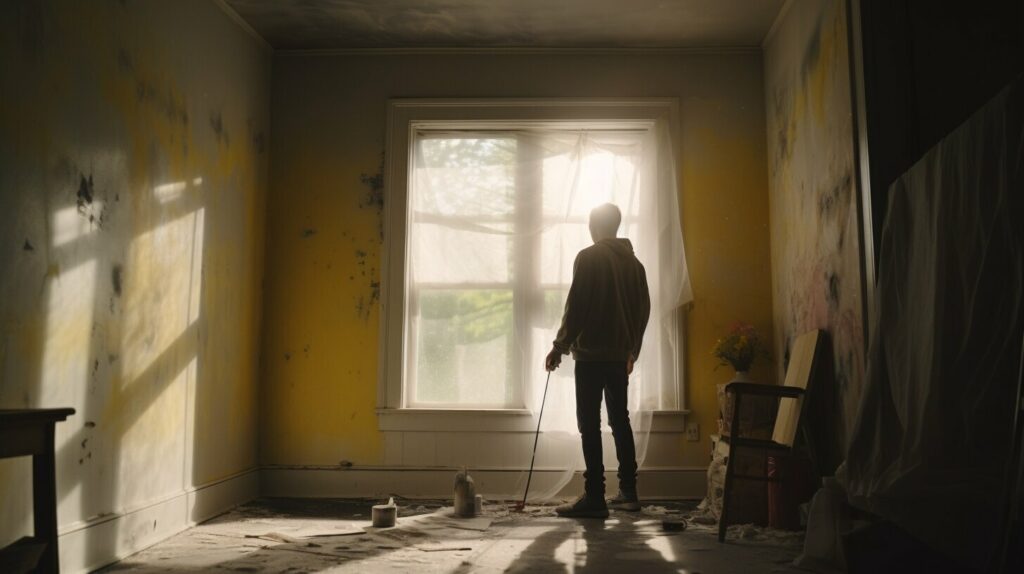
Hiring a Professional Room Painting Service
If the idea of painting a room yourself is overwhelming, or if you simply prefer to leave the job to the experts, hiring a professional painting service may be the best option for you. While a DIY project can be rewarding, there are benefits to hiring a professional that can make the investment worthwhile.
Professional painters bring a wealth of experience, skill, and knowledge to the job. They have the expertise to efficiently paint a room without sacrificing quality, which can save you time and frustration in the long run. Additionally, professionals have access to high-quality materials and tools that may not be available to the average homeowner.
Another advantage of hiring a professional is the added convenience. Painting a room can be a disruptive and messy process, and professionals are equipped to minimize the impact on your daily routine. They can work on your schedule, complete the job quickly and efficiently, and leave your space clean and tidy.
When choosing a professional painting service, be sure to do your research and select a reputable and experienced team. Ask for references, read reviews, and check licensing and insurance to ensure you’re making the best choice for your home.

While hiring a professional painting service may be a larger investment upfront, it can save you time, stress, and potentially even money in the long run. Consider your priorities and needs when deciding whether to tackle the project yourself or bring in the professionals.
Conclusion
Congratulations! You have successfully transformed your room with a fresh coat of paint. By following this step-by-step guide, you have gained valuable knowledge on selecting paint colours, gathering the necessary tools and supplies, preparing the room, applying paint, and adding depth and texture with paint finishes.
Remember, the key to a successful DIY painting project is proper planning, preparation, and technique. Don’t rush through each step or overlook any important details. Take your time and enjoy the process!
If you decide that you prefer to leave the job to the professionals, hiring a professional room painting service is always a great option. They have the skills, experience, and access to the highest quality materials to ensure a flawless finish that will last for years to come.
Putting It All Together
Now that you have painted your room, it’s time to add your personal touch. Hang some artwork, add some decorative accents, or rearrange your furniture to create a cozy and inviting space that you’ll love spending time in.
Remember, a fresh coat of paint can make a world of difference in any room. Whether you’re looking to update your bedroom, living room, or kitchen, this guide has provided you with the knowledge and confidence to tackle your next painting project with ease.


