How to Paint a Wall
Welcome to our comprehensive guide on how to paint a wall. Giving your walls a fresh coat of paint can instantly transform the look and feel of your space, making it feel brand new. Whether you’re new to DIY or a seasoned pro, we’ve got you covered with our step-by-step instructions and insider tips.
In this article, we’ll cover everything from choosing the right paint to preparing your walls for painting. We’ll also share painting techniques and creative ideas to add personality to your space. By the end of this article, you’ll have all the knowledge and confidence you need to tackle your next wall painting project.
Key Takeaways:
- Learn how to choose the right paint for your walls.
- Discover the essential tools and supplies you’ll need for your painting project.
- Follow our step-by-step instructions to prepare your walls for painting.
- Explore different painting techniques to achieve various effects on your walls.
- Discover creative wall paint ideas to add personality and charm to your space.
- Find solutions to common wall painting problems and achieve a flawless finish.
Choosing the Right Paint for Your Walls
When it comes to painting your walls, choosing the right paint can make all the difference. With so many options available, it can be overwhelming to decide which one is best for your space. Here are some factors to consider:
| Factor | Considerations |
|---|---|
| Paint Finish | There are various finishes available, including matte, eggshell, satin, and gloss. Matte is ideal for hiding imperfections, while glossy finishes reflect more light and are more durable. |
| Room Lighting | Take into account the lighting in your room. If your room has minimal natural light, a lighter shade of paint can make it appear brighter. |
| Personal Preferences | Ultimately, the paint colour you choose is up to you. Consider your personal taste and the mood you want to create in the space. |
Be sure to also choose a high-quality paint to ensure a long-lasting finish. Brands like Dulux, Crown, and Valspar offer great options for wall paints.
Remember: Selecting the right paint requires careful consideration of various factors. Take into account the paint finish, room lighting, and your personal preferences when choosing a paint colour. Opt for a high-quality brand for a long-lasting result.
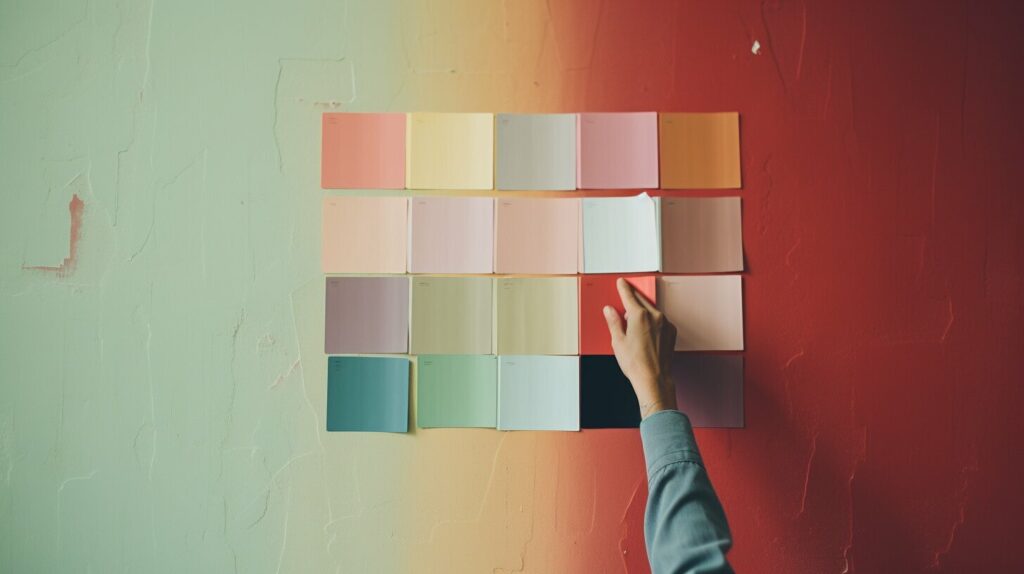
Essential Wall Painting Supplies
Before you start your wall painting project, make sure you have all the necessary supplies on hand. This will ensure that you have a smooth and successful painting experience. Here are the essential wall painting supplies you will need:
| Paint | Choose the paint color and finish that you want for your walls. Buy enough paint to cover the entire wall surface, plus a little extra to account for touch-ups and mistakes. |
|---|---|
| Paint Brushes | You will need a variety of paint brushes in different sizes to achieve a smooth finish. Use a 4-inch or 6-inch brush for large areas, and smaller brushes for cutting in around edges and corners. |
| Roller Frames and Covers | A roller is the most efficient way to apply paint to large surfaces. Choose a roller frame that fits the size of your roller covers. Use a shorter nap for smoother surfaces and longer nap for textured surfaces. |
| Drop Cloths | Protect your floors and furniture by laying down drop cloths or plastic sheeting. Use masking tape to secure the edges and prevent paint from seeping through. |
| Painter’s Tape | Use painter’s tape to mask off areas that you don’t want to paint, such as baseboards, trim, and window frames. This will help you achieve clean, straight lines. |
| Putty Knife and Spackling Compound | Fill any holes or cracks in your wall with spackling compound using a putty knife. Allow it to dry and sand it down until it’s smooth and level with the wall surface. |
| Sandpaper | Use sandpaper to smooth out any rough patches or bumps on the wall surface before painting. |
| Cleaning Supplies | Clean the wall surface thoroughly before painting to remove any dirt, dust, or grease. You will need a bucket, sponge, and cleaner such as TSP. |
Make sure to have all the above supplies ready before you start painting. This will save you time and prevent any unnecessary trips to the store. With the right tools and preparation, you’ll be on your way to a beautiful and successful wall painting project.
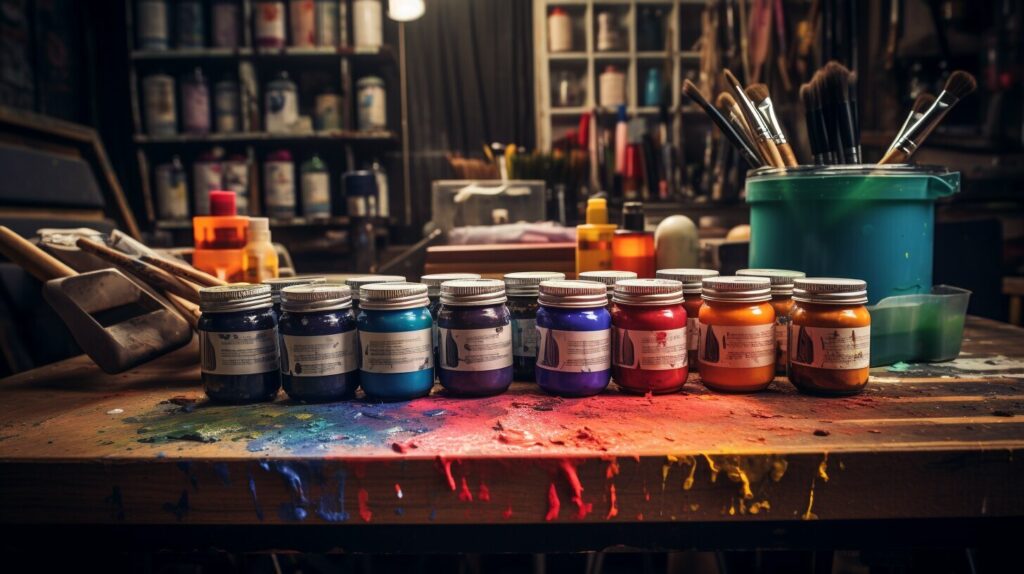
Preparing Your Wall for Painting
Before you begin painting, it’s important to properly prepare your wall for a flawless finish. Follow these steps:
- Clean the wall: Use a soft cloth or sponge to wipe down the wall with a mild detergent and water. This will remove any dirt, dust, or grease that could affect the paint’s adhesion. Rinse the wall with clean water and allow it to dry completely.
- Repair any damages: Inspect the wall for any cracks, dents, or holes. Use a spackling compound to fill in any damages and let it dry according to the manufacturer’s instructions. After it has dried, sand the area until it’s smooth.
- Protect your floors and furniture: Cover your floors and furniture with a drop cloth or plastic sheeting to prevent any accidental paint spills or splatters. Make sure to also cover any fixtures, outlets, or switches with painter’s tape to protect them from paint splatters.
- Apply primer: Applying a coat of primer to your wall before painting will ensure better adhesion and a smoother finish. Use a paintbrush or roller to apply the primer, starting at the top of the wall and working your way down.
- Sand the wall: Use fine-grit sandpaper to lightly sand the wall after the primer has dried. This will ensure that the surface is smooth and ready for paint.
By following these steps, you’ll be well on your way to a perfect paint job.
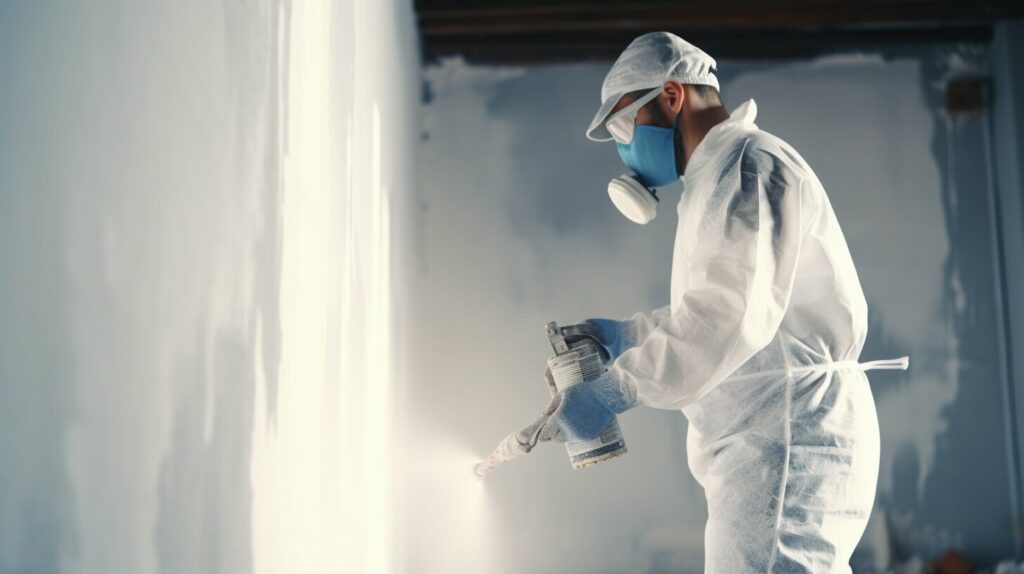
Painting Techniques for Walls
Now that you have chosen the perfect paint and prepared your walls, it’s time to get creative with painting techniques! These are some of the best techniques to achieve different effects on your walls:
Basic Brush Strokes
Mastering basic brush strokes is essential for any paint project. Start by loading your brush with paint and making long, even strokes from top to bottom. To avoid drips, don’t overload your brush with too much paint, and smooth out any excess. Experiment with different strokes such as cross-hatching, stippling, and feathering to create a more textured finish.
Roller Painting
A roller is an excellent tool for quickly and efficiently covering large areas like walls and ceilings. Rollers come in different sizes and materials, so choose the one that works best for your paint and surface. Begin by painting a large “W” shape on the wall and then filling it in. Use a light touch and overlap each section slightly to ensure an even finish.
Sponging
Sponging involves using a natural sea sponge or synthetic sponge to create a mottled, textured effect on your walls. Dip your sponge in paint and dab it onto the wall in a random pattern. Experiment with using different colors and sponging techniques to create a unique look.
Stencilling
Stenciling is an easy way to add a decorative touch to your walls. Start by taping your stencil securely to the wall and using a stencil brush to carefully dab the paint onto the cut-out sections. Avoid using too much paint, which can bleed under the stencil and ruin your design. Mix and match different stencils to create a one-of-a-kind look.
Colour Blocking
Colour blocking is a popular technique that involves painting different colours on different sections of the wall, creating a bold and modern look. Use painter’s tape to mark out the areas you want to paint, and then use a brush or roller to paint each section. Remove the tape while the paint is still wet to avoid peeling.
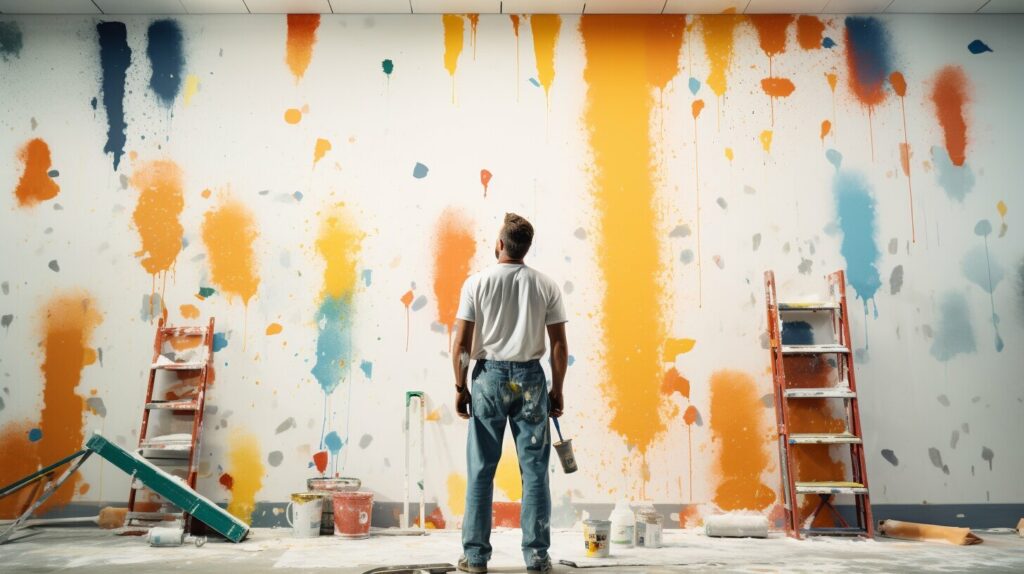
With these techniques, you can create a unique and stunning look for your walls. Don’t be afraid to experiment with different colours and textures to find the perfect fit for your space!
Tips for a Flawless Wall Paint Job
Painting a wall can seem like a daunting task, but with the right techniques, you can achieve professional-looking results. Here are some tips to help you create a flawless wall paint job:
- Choose the right paint: Be sure to select quality paint and the correct finish for your project. Remember that certain finishes, such as high-gloss, can highlight imperfections.
- Use a primer: Applying a primer before painting can help the paint adhere better and provide a smoother finish.
- Paint in natural light: Painting in natural light can help you achieve a more accurate color match and see any imperfections more clearly.
- Paint from top to bottom: Painting from top to bottom can help you avoid drips and ensure even coverage.
- Paint in sections: Paint one area at a time, and blend each section into the next to avoid visible lines and seams.
- Keep a wet edge: To avoid visible brush marks, keep a wet edge by painting one uninterrupted section at a time.
- Use a brush for edges: Use a brush to paint edges and tight spaces, and blend the paint into the surrounding areas for a seamless finish.
- Remove painter’s tape carefully: If you use painter’s tape, be sure to remove it while the paint is still wet to avoid peeling and chipping.
By following these tips, you can achieve a flawless wall paint job that will enhance the look of your space. Don’t be afraid to take your time and experiment with different techniques to find what works best for you.
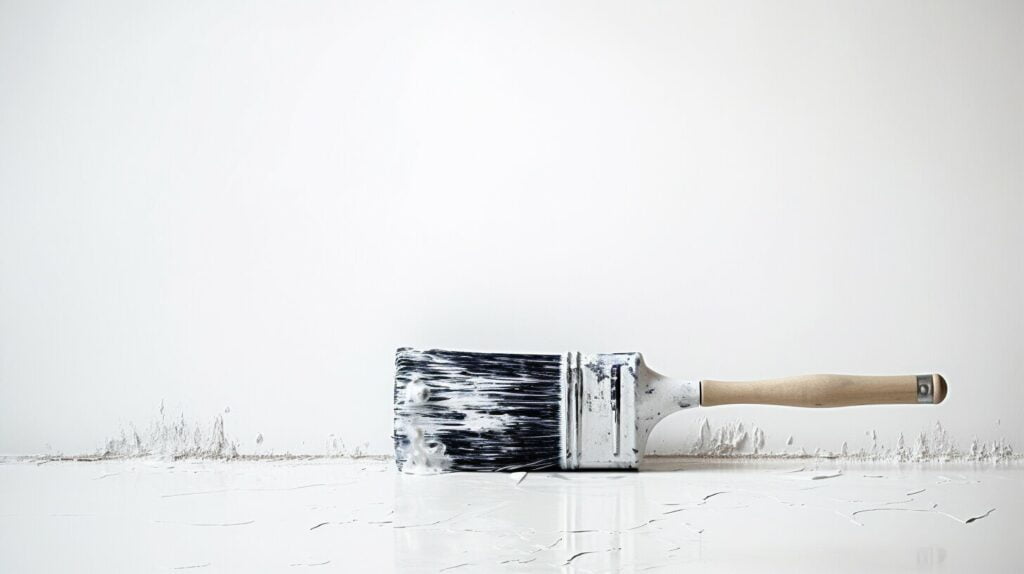
Adding Personality with Wall Paint Ideas
Ready to add some personality to your space? Look no further than your walls! With a fresh coat of paint and a little creativity, you can transform any room. Here are some wall paint ideas to inspire you:
1. Bold Accent Wall
Make a statement with a bold accent wall. Choose a vibrant color that complements your existing decor and paint one wall in the room. This creates a focal point and adds personality to your space.

2. Geometric Patterns
Break up a boring wall with geometric patterns. Masking tape can help create clean lines and shapes. Experiment with different colors and shapes until you achieve the desired effect.

3. Ombré Walls
A gradient of colors can create a beautiful ombré effect on your walls. Blend two or more colors together, starting with the lightest shade at the top and gradually getting darker towards the bottom of the wall.
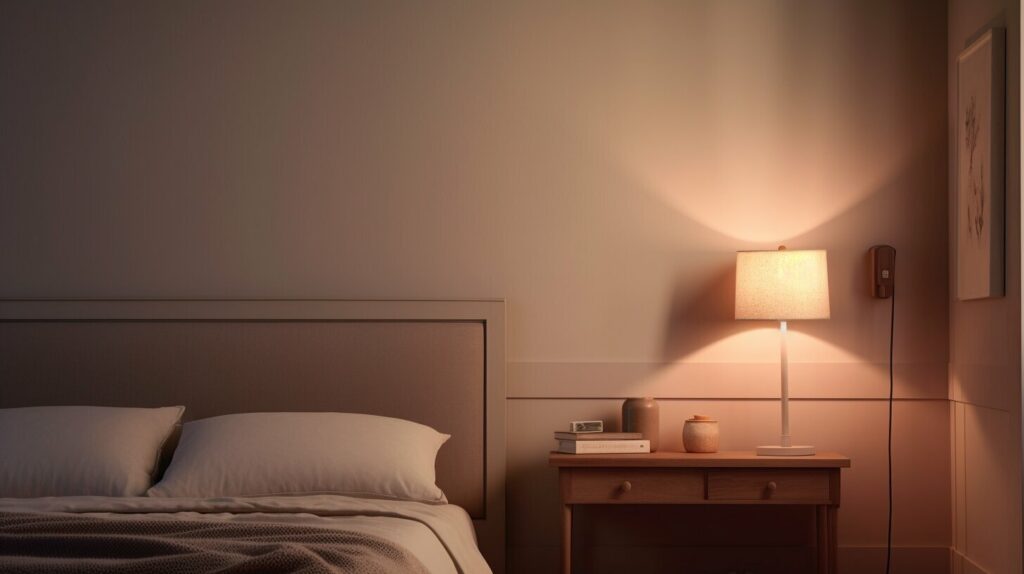
4. Stripes
Stripes are a classic pattern that can make a big impact. Vertical stripes can make a room feel taller, while horizontal stripes can make it feel wider. Choose colors that work well together and experiment with different stripe widths.

There you have it – four wall paint ideas to help you add personality and style to your space. Don’t be afraid to take risks and try something new!
Troubleshooting Common Wall Painting Problems
While painting a wall can be a simple and enjoyable DIY project, it can also come with its fair share of problems. Here are some common issues that you may encounter during your wall painting project, along with their solutions.
Problem: The paint is peeling or cracking
If your paint is peeling or cracking, it may be due to a lack of adhesion between the paint and the surface. This can happen if the surface is not properly cleaned or if you paint over a glossy finish without sanding it down first.
Solution: To fix this problem, you will need to remove the peeling or cracking paint using a scraper or sandpaper. Once the surface is smooth, apply a coat of primer before painting over it again.
Problem: Uneven coverage
Uneven coverage can occur when you don’t apply enough paint to some areas or if you’re using a low-quality roller or brush.
Solution: To avoid this problem, make sure you apply enough paint to each section of the wall and use a high-quality roller or brush to achieve even coverage. If you notice uneven coverage after the first coat of paint has dried, apply a second coat to even it out.
Problem: Colour bleeding
Colour bleeding happens when the old paint colour shows through the new coat of paint. This can occur if you’re painting over a dark-coloured wall with a lighter colour or if the old paint was not properly sealed.
Solution: To prevent colour bleeding, apply a coat of primer before painting your wall. This will help to block the old colour and create an even base for your new coat of paint.
Problem: Paint streaks and drips
Paint streaks and drips can occur if you’re using too much paint or if you’re not painting in a consistent direction.
Solution: To avoid this, always apply a thin layer of paint, starting from the top of the wall and working your way down. Use long, smooth strokes in a consistent direction to achieve a smooth finish. If you do notice streaks or drips, wait until the paint has dried and sand them down before applying a new coat of paint.
By being aware of these common problems and their solutions, you can tackle any issues that may arise during your wall painting project with confidence. Happy painting!
Conclusion
Congratulations! You now have the knowledge for DIY wall painting techniques and tools to give your walls a beautiful makeover. Remember to choose the right paint for your space, gather all essential supplies, and prepare your walls properly. Use the painting techniques we’ve outlined here, and don’t forget our helpful tips for achieving a flawless finish.
If you encounter any problems during your wall painting project, refer back to our troubleshooting section for solutions. And if you’re feeling adventurous, try out some of our creative wall paint ideas to add a little personality to your space.
We hope this article has inspired you to take on your next DIY project with confidence. Happy painting!


