How to Paint a Ceiling
Welcome to our guide on how to paint a ceiling! Paint can transform the look and feel of a room, but painting a ceiling can be a daunting task. Don’t worry, we’ve got you covered. Follow our professional techniques and tips to achieve a flawless finish on your ceiling.
To start, it’s important to gather the right materials and tools. We’ll discuss the essentials in the next section, so keep reading to ensure you have everything you need before starting your project.
Key Takeaways:
- Painting a ceiling can be challenging, but following the right techniques can make all the difference.
- Gathering the right materials and tools is essential for achieving a professional-looking result.
Gathering the Right Materials and Tools
Before you begin painting your ceiling, it’s essential to ensure you have all the necessary materials and tools. Having the right equipment will help ensure a smooth, professional-looking finish that lasts. Follow these tips to gather all that you need:
| Materials | Tools |
|---|---|
| Paint | Paint roller with an extension pole |
| Paint primer | Paintbrushes |
| Painter’s tape | Drop cloths or plastic sheets |
| Sandpaper | Ladder or scaffolding |
| Clean cloths or rags | Paint tray and liners |
Consider investing in high-quality tools and materials. Cheaper options may save you money in the short term, but they are likely to produce inferior results and require more time and effort to get the job done.
When selecting the right equipment, keep in mind the size of your room, the type of ceiling, and the type of paint you will be using. Choosing the right tools and materials will make the painting process easier and more efficient.
Tip: Choose a paint roller with an extension pole to help you access hard-to-reach areas and reduce the need for a ladder.
By gathering the right materials and tools, you’ll be better equipped to tackle your ceiling painting project and produce a professional-looking finish.
Preparing the Ceiling for Painting
Before you start applying paint to your ceiling, it’s important to properly prepare the surface to ensure that the final result is smooth and even. Follow these simple steps to get your ceiling ready for painting:
| Step 1: | Clean the ceiling thoroughly with a damp cloth or sponge to remove any dust, cobwebs, or other debris. This will help the paint adhere better to the surface. |
|---|---|
| Step 2: | If there are any cracks, holes, or other damage on the ceiling, fill them in with spackle or putty. Allow the filler to dry completely, and then sand the area smooth with sandpaper. |
| Step 3: | Apply a coat of primer to the ceiling. This will help the paint bond to the surface, cover any stains or discolouration, and give you a more even finish. Allow the primer to dry completely before painting. |
Remember that a smooth and even surface is crucial for achieving a professional-looking ceiling. Take your time and don’t rush through the preparation process, as it will pay off in the end.

Choosing the Right Ceiling Paint and Color
Choosing the right paint and color for your ceiling can make a huge difference in the overall look and feel of your room. When selecting a paint finish for your ceiling, it’s important to go for a flat or matte finish to avoid any unwanted shine or reflection. These finishes are also better at hiding imperfections on the ceiling surface.
If you’re unsure of which color to choose, a general rule of thumb is to go for a lighter color than your walls. This will help to create a sense of height and openness in the room. On the other hand, if you want to make a bold statement, you can opt for a contrasting color that complements your walls or decor.
Before committing to a specific color, try purchasing a small sample of the paint and testing it on a small area of your ceiling. This will ensure that the color looks right in your space and under your lighting conditions.

Ceiling Paint Finishes
When selecting your ceiling paint, you’ll want to consider the different finishes available to you. As mentioned earlier, a flat or matte finish is ideal for hiding imperfections and avoiding reflection. However, you may also consider a high-performance paint finish that resists stains and mildew, if you have a bathroom or kitchen ceiling.
A semi-gloss finish can also provide an interesting sheen and highlight architectural details, but it’s crucial to avoid using it on a textured or uneven ceiling surface. This finish is more suitable for smooth surfaces, where it can give a chic and sleek look.
Ceiling Color Ideas
If you’re looking for inspiration, there is a range of ceiling color options to consider. A white ceiling is always a classic choice and can help to brighten up the room. Alternatively, a very light pastel or blue color can give a cooling and relaxing vibe. For a more dramatic effect, consider a darker color such as navy blue or charcoal grey.
Remember, your ceiling doesn’t have to be a solid color. You can add interest and texture by using a technique called faux painting, such as creating a cloudy or marbled effect. You can also add a pop of color to a neutral ceiling by painting a border or accent color around the perimeter of the room.
Painting Techniques for an Even Finish
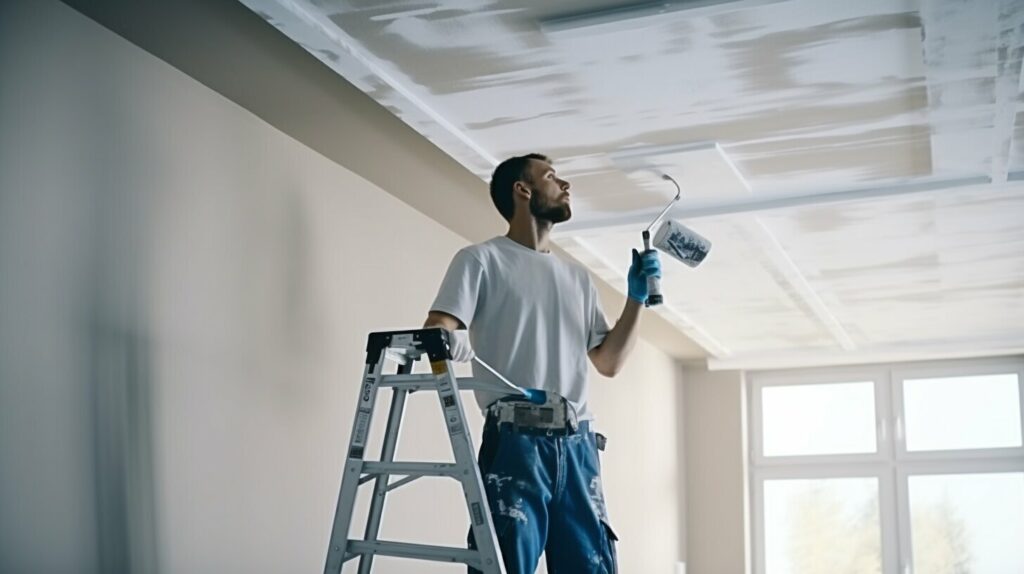
Now that you have prepared your ceiling, it’s time to start painting. Achieving an even finish on a ceiling can be a challenging task, but by following the right techniques, you can ensure a professional result.
The first step is to use a roller to apply paint in a “W” shaped pattern on the ceiling. This will help to distribute the paint evenly and prevent drips or excess paint from building up. When selecting a roller, choose one with a nap (the thickness of the material) suitable for the texture of the ceiling.
Before reloading the roller, use a brush to “cut in” along the edges of the ceiling, where the roller cannot reach. This will create a neat finish and prevent paint from spilling onto the walls.
When rolling, be careful not to press too hard, as this can create lines or streaks. Instead, use a light touch and roll in one direction, moving across the ceiling in sections. To maintain a wet edge and prevent visible seams, overlap each stroke slightly.
If you need to take a break, it’s essential to wrap your roller and brush in plastic to prevent them from drying out. If paint dries on the roller, it can leave lumps or rough patches on the ceiling when you resume painting.
Finally, to achieve a smooth and even finish, it may be necessary to apply a second coat of paint. Use the same technique as before, waiting for the first coat to dry completely before starting the second coat.

Pro tip: If you’re struggling with uneven coverage, try using a paint additive such as Floetrol. This will help the paint to flow more smoothly and give you more time to work with it.
Step-by-Step Guide to Painting a Ceiling
Now that you have gathered all the necessary materials and prepared the ceiling, it’s time to begin painting. Here’s a step-by-step guide to help you achieve a professional-looking result:
- Start by cutting in along the edges of the ceiling using a paintbrush. Apply a thin and even coat of paint, taking care not to leave any drips or streaks.
- Once the edges are done, it’s time to roll the paint onto the ceiling. Dip the roller into the paint tray and remove any excess paint by rolling it over the ridges. Then, begin rolling the paint onto the ceiling in small sections, using a “W” pattern to ensure even coverage. Remember to maintain a wet edge, which means overlapping each section you paint.
- After you have finished applying the first coat, allow it to dry completely before applying a second coat. This will help to ensure even coverage and a smooth finish.
- Repeat the cutting in and rolling process for the second coat, making sure to maintain the same techniques as before.
- Once the second coat is dry, inspect the ceiling for any spots that may need touch-ups. Use a brush or roller to apply paint to those areas, and blend them in with the rest of the ceiling.
And there you have it! A freshly painted ceiling that will transform the look of your room. Remember to take your time, follow the techniques discussed earlier, and use high-quality materials to achieve the best results.

Adding Creative Touches to the Ceiling
Now that you have mastered the basics of painting a ceiling, why not add some creative touches to make it truly unique? Here are a few DIY-friendly ideas to inspire you:
Stencil a Design
Stenciling a design onto your ceiling can add a touch of elegance or whimsy, depending on the pattern you choose. You can find stencils in a variety of styles at your local craft store or online. Simply tape the stencil to the ceiling and use a small brush to carefully paint over the design.
Create a Faux Finish
If you want to give your ceiling a textured look, consider using a faux finish. There are a variety of techniques you can use, from sponging to rag rolling. Experiment on a small area first to find the look you like best.
Add a Pop of Color
If you have a neutral colour scheme in your room, consider adding a pop of color to the ceiling. This can be a great way to tie in other accent colours in the space. Just be sure to choose a shade that complements the rest of the room’s decor.

“Creativity is intelligence having fun.” – Albert Einstein
Remember, the sky’s the limit when it comes to adding creative touches to your ceiling. Don’t be afraid to experiment and have fun!
Final Touches and Clean-Up
Now that you have finished painting your ceiling, it’s important to give it some final touches and clean up the workspace. This will help ensure a professional-looking result.
Remove the painter’s tape: Start by carefully removing the painter’s tape from the edges of the ceiling. Use a knife or scissors to cut the tape at the corners to prevent peeling the paint.
Inspect for touch-ups: Check your ceiling for any spots that might need touch-ups. Use a small brush or roller to fix any areas that appear uneven or blotchy.
Clean up: Properly disposing of any used materials will help keep your workspace organised. Remove any excess paint from the brushes and rollers and wrap them in plastic to prevent them from drying out. Dispose of any remaining paint, cans, and other materials appropriately, following local regulations.
Once your workspace is clean and tidy, stand back and admire your freshly painted ceiling. Great job!

Troubleshooting Common Ceiling Painting Issues
Painting a ceiling can be a challenging task, and sometimes unexpected issues may arise during the process. Here are some common problems that you may encounter and tips on how to solve them:
| Problem | Solution |
|---|---|
| Streaks | If you notice streaks on your ceiling after painting, it may be due to improper paint application. To fix this, sand down the streaky areas and then apply a fresh coat of paint using a smooth, even technique. |
| Drips | If you spot drips on your ceiling, you may have applied too much paint or not used the proper technique. To remove drips, allow the affected area to dry completely. Then, sand the area until it is smooth and reapply paint, using long and even strokes. |
| Uneven Coverage | If your ceiling has uneven coverage, it may be due to insufficient paint or inadequate technique. To correct this, apply an additional coat of paint using a uniform technique. Be sure to wait for the first coat to dry thoroughly before applying the second coat. |
Remember, it’s essential to take your time when painting a ceiling, as rushing through the job can lead to mistakes and problems. If you encounter any issues during the process, it’s okay – just take a deep breath, follow the troubleshooting tips provided, and you’ll be on your way to a beautifully painted ceiling and became a professional ceiling painters.

Conclusion
Congratulations! You have successfully learned the professional ceiling painting techniques and are now equipped with the knowledge and skills to transform any room in your home. Remember to take your time and follow each step carefully to achieve the best results.
To recap, start by gathering the necessary materials and tools, then prepare the ceiling by cleaning and priming the surface. Choose the right paint and color, and then employ the correct techniques to ensure an even finish.
If you want to add some creative touches, explore stencilling or using patterns, and don’t be afraid to experiment with an accent color. Finally, complete the project with some final touches and clean-up, and be sure to troubleshoot any issues that may arise.
With these tips and tricks, you can confidently tackle your next ceiling painting project and achieve professional-looking results. Happy painting!


