How to Paint Furniture
If you’re looking to give your furniture a new lease of life, painting it can be a cost-effective and creative solution. Whether you want to update an old piece, customise a hand-me-down or simply breathe new life into a tired room, painting furniture is an accessible DIY project that can produce stylish and impressive results.
But where do you start and how do you ensure you achieve a professional finish? In this article, we’ll guide you through the process of painting furniture step-by-step, from choosing the right pieces to the final finishing touches.
Key Takeaways
- Painting furniture is a cost-effective and creative way to update your decor
- The process can be broken down into several key steps, including choosing the right furniture, selecting the right paint and tools, preparing the surface for painting and applying the paint
- You can add decorative touches to painted furniture to customise it even further
- Finishing and sealing the painted surface is important for durability and longevity
- With the right techniques and care, you can achieve a professional-looking finish for your furniture painting project
Why Paint Furniture?
Are you tired of outdated, dull furniture? Or maybe you’ve inherited some pieces from a family member that just don’t match your style. Before you consider tossing them out or spending a fortune on new furniture, why not give them a makeover with a fresh coat of paint?
Painting furniture is a popular DIY project that can truly transform the look of a room. Whether you want to update an old piece, add a pop of color, or create a cohesive look with matching furniture, painting is a great way to achieve your desired outcome.
Plus, painting furniture is much more cost-effective than buying new pieces. Not only will you save money, but you’ll also have the satisfaction of knowing you brought a new life to something old.
There are endless possibilities when it comes to furniture painting ideas. From classic neutrals to bold statement pieces, you can create a look that is uniquely yours. So why not give it a try? With the right tools and techniques, you’ll be amazed at the results you can achieve.
Choosing the Right Furniture and Paint
If you’re considering painting furniture, it’s important to choose pieces that are suitable for the job. Look for furniture that is structurally sound and doesn’t have any major damage or repairs needed. Also, keep in mind the style of furniture you’re painting and the decor of the space it’s going to be in.
When it comes to choosing paint, there are a few factors to consider. Firstly, think about the type of paint that will work best for your particular project. For example, if you’re painting a wooden piece of furniture, you’ll need a specific type of paint that adheres well to wood. Secondly, consider the finish you want the furniture to have – do you want a glossy or matte look? This will help you choose the right paint sheen. Lastly, think about the colour you want to paint your furniture. There are endless options available, so take your time to choose something that suits your style.
When it comes to tools, you’ll need a variety of brushes and rollers to apply the paint. Make sure they are of good quality to ensure a smooth finish. You may also want to invest in paint sprayers if you’re painting a large piece of furniture or several items at once.

Preparing the Furniture for Painting
Before you start painting your furniture, you need to prepare it to ensure the paint adheres well and creates a smooth, even finish. Follow these steps to prepare your furniture for painting:
- Clean the surface: Use a gentle cleaner to remove any dirt, grime, or grease from the furniture. Wipe it down with a damp cloth and let it dry completely.
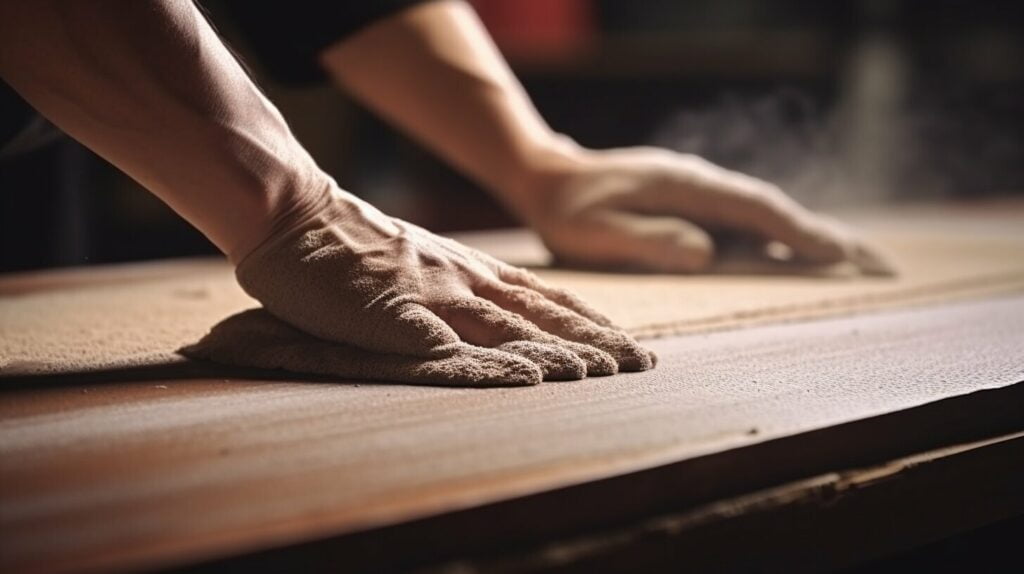
- Sand the surface: Sand the furniture lightly with fine-grit sandpaper to remove any bumps, scratches, or rough spots. Make sure to sand in the direction of the grain, and wipe down the surface with a tack cloth to remove any dust.
- Fill any dents or cracks: If your furniture has any dents, cracks, or holes, use a wood filler to fill them in. Sand the filled areas once they’re dry to create a smooth surface.
- Prime the surface: Apply a coat of primer to the furniture to create a smooth, even base for the paint. Choose a primer that’s suitable for the type of paint you’ll be using.
By taking the time to prepare your furniture, you’ll create a solid foundation for your paint job, helping the paint to last longer and look more professional.
Applying the Paint
Now that your furniture is prepped and ready, it’s time to apply the paint. There are different techniques you can use, depending on the type of furniture and the finish you’re going for. Let’s explore some options:
Brush Strokes
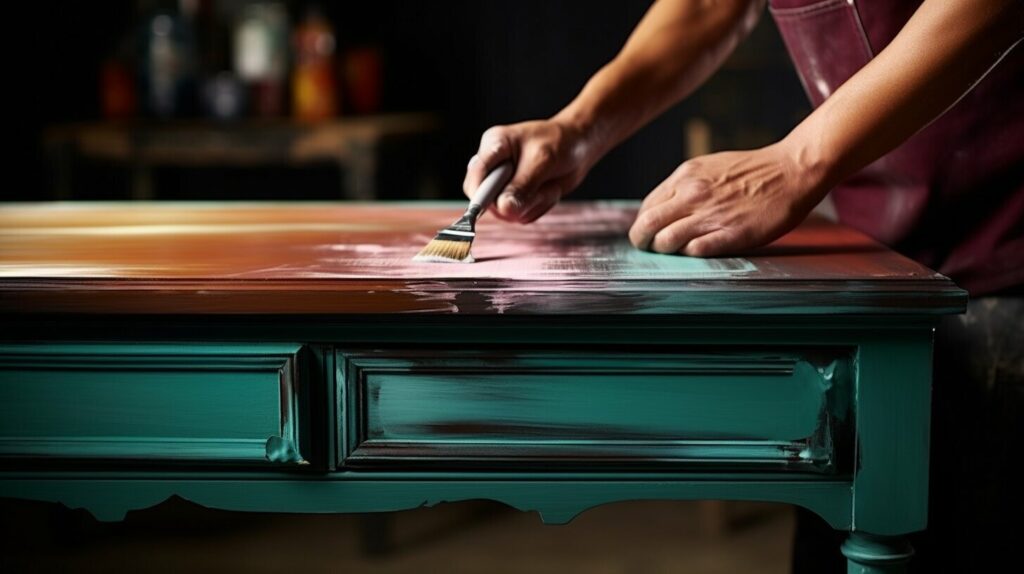
Brush strokes are a classic way to apply paint to furniture. They create a textured and unique finish, giving your furniture character. To get the best results, use a high-quality brush and work in small sections, brushing in the direction of the wood grain. This will prevent brush marks and ensure a smooth, even finish.
Roller Application
Roller application is a quick and efficient way to cover larger surfaces, such as tabletops or dressers. It’s important to use the right type of roller for your paint and to properly prepare the surface to prevent bubbles or roller marks. Roll in long, even strokes, overlapping each stroke slightly to avoid leaving gaps or inconsistencies.
Spraying
Spraying is a great option for professional-looking finishes and intricate designs. You can use a spray gun or a can of spray paint, depending on your preference. This method allows for even coverage and minimal brush or roller marks, but can be messy and requires proper ventilation and equipment.
Remember, regardless of your chosen method, always work in a well-ventilated area, wear protective gear, and follow the instructions on your paint can.
Adding Decorative Touches
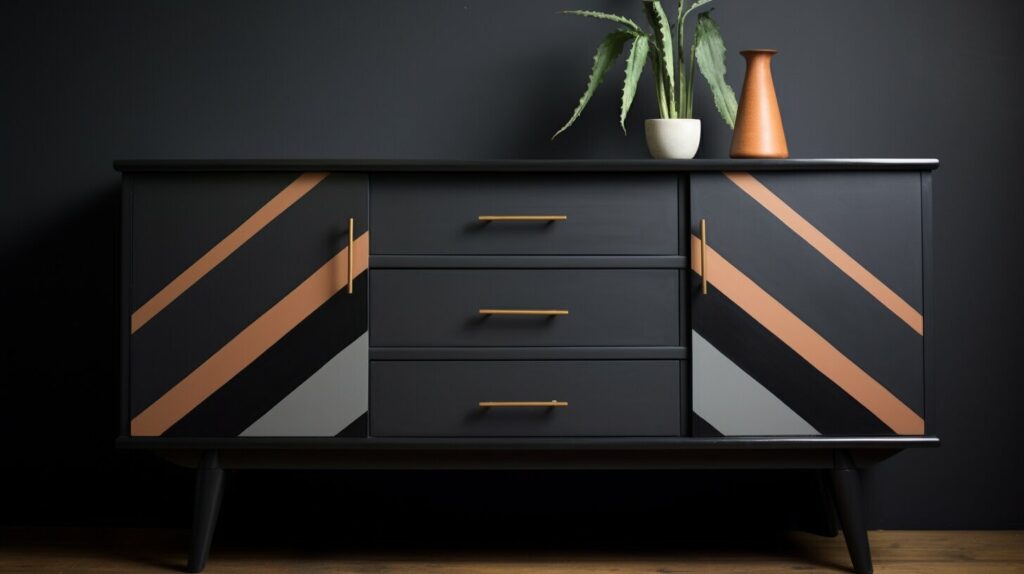
Now that you’ve painted your furniture piece, it’s time to add some decorative touches to really make it stand out. There are a variety of techniques you can use to achieve a unique look, depending on your personal style and the overall aesthetic you’re going for.
You could try stencilling a design onto your furniture piece to add some visual interest. Simply find a stencil you like and use a foam roller or brush to apply the paint. Be sure to secure the stencil in place using painter’s tape to prevent smudging.
If you want a more vintage or distressed look, you can try sanding the edges of your furniture piece. Use fine-grit sandpaper to lightly sand away the paint in certain areas, such as the edges or corners, for a more rustic appearance.
Another way to add some flair to your furniture is by changing out the hardware. Swap out old handles or knobs for something new and eye-catching, such as brass or ceramic options. This small change can make a big impact on the overall look of your furniture piece.
Remember, you can always experiment and try new things to see what works best for your furniture piece and personal style. Don’t be afraid to get creative!
Finishing and Sealing the Painted Furniture
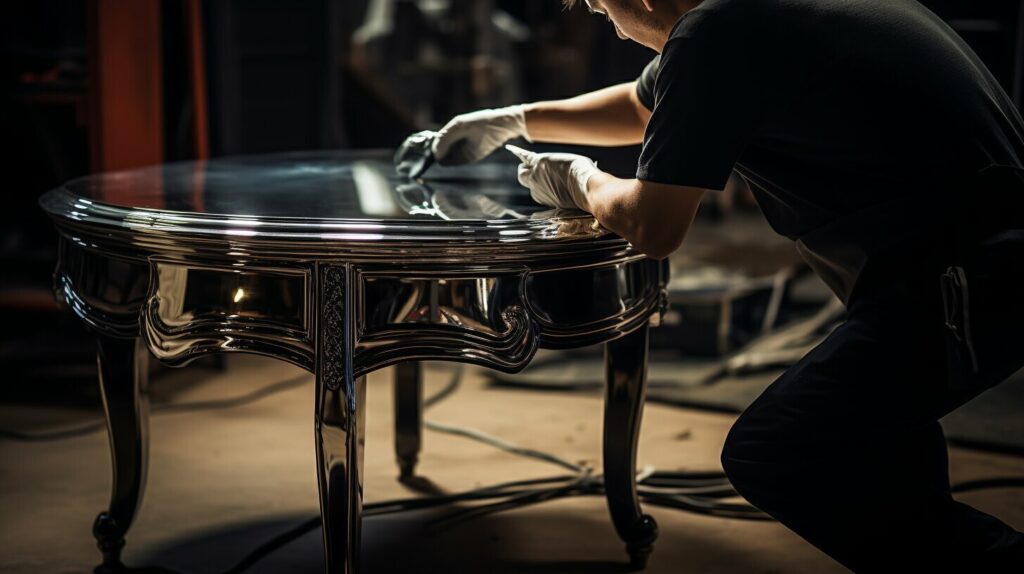
Finishing and sealing your painted furniture is essential to protect the surface and enhance its durability. It can also add an extra layer of shine or texture to the painted finish, depending on the product you choose.
Before applying any finish or sealer, make sure the paint is completely dry. Allow at least 24 hours before proceeding with this step.
| Type of Finish | Pros | Cons |
|---|---|---|
| Wax | – Provides a soft, smooth finish | – Requires frequent reapplication – Can alter or darken the paint colour |
| Polyurethane | – Provides a hard, durable finish – Available in gloss, semi-gloss, and matte sheens | – Can yellow over time – Difficult to repair once damaged |
| Polycrylic | – Provides a hard, durable finish – Dries clear | – Can be difficult to apply without streaking or bubbles – May require multiple coats for adequate protection |
When applying the finish or sealer, use a clean brush or roller and work in long, even strokes. Be sure to follow the manufacturer’s instructions for application and drying time.
Once the finish is completely dry, you can add any final decorative touches, such as stencilling or distressing, before showcasing your newly painted furniture.
Caring for Painted Furniture
After putting in the effort to paint your furniture, it’s important to take care of it properly to ensure its longevity and beauty. Here are some tips to keep your painted furniture looking its best:
- Keep it clean: Regularly dust or wipe down painted furniture with a soft cloth to prevent dirt and grime buildup. For tougher stains, use a mild soap and water solution. Avoid using abrasive cleaners or scrubbing too hard, as this can damage the finish.
- Avoid heat and moisture: Keep painted furniture away from direct sunlight, heat sources, and moisture to prevent warping or fading. Use coasters or placemats to protect tabletops from heat and moisture.
- Handle with care: Avoid hitting or bumping painted furniture, as this can chip or scratch the finish. Be gentle when moving or rearranging furniture, and lift it instead of dragging it.
- Touch up as needed: Over time, painted furniture may develop nicks, scratches, or chips. Touch up the affected areas with matching paint and a small brush to keep the finish looking uniform.
By following these simple care tips, you can enjoy your beautifully painted furniture for years to come.
Troubleshooting Common Issues
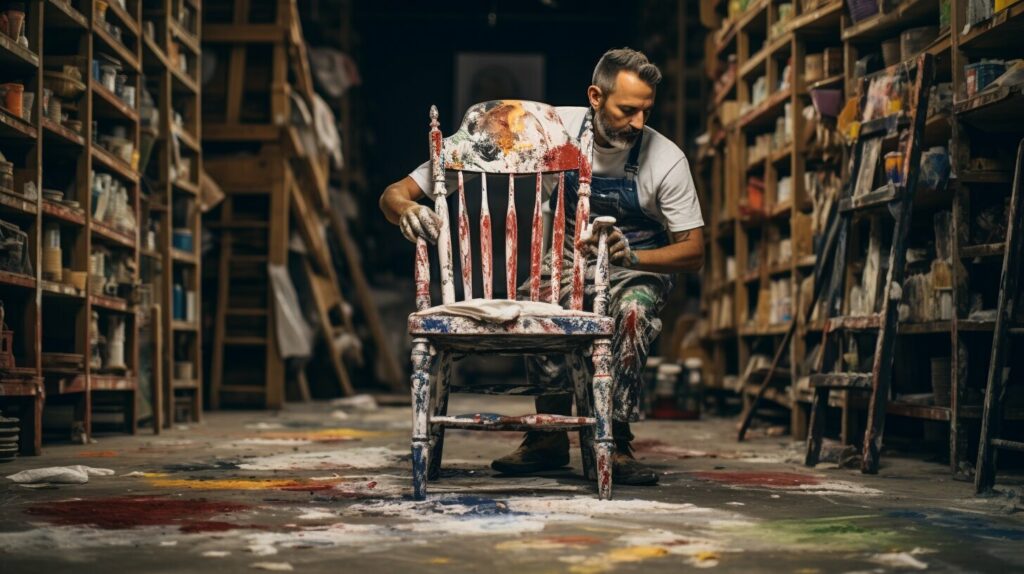
Painting furniture may seem like a straightforward task, but sometimes unexpected issues can arise that can be frustrating to deal with. Here are some common problems you may encounter when painting furniture and how you can troubleshoot them:
Paint Drips
Paint drips can occur when you apply too much paint, leaving it to pool and run. To fix this issue, wait for the drips to dry, then sand them down with fine-grit sandpaper. If you notice any rough patches or unevenness, apply a thin coat of paint and feather it out with a brush to blend it in with the rest of the surface.
Uneven Coverage
Uneven coverage can happen when the paint is not applied evenly, leaving patches of the underlying surface showing. To prevent this, make sure to apply each coat of paint in thin, even layers, allowing it to dry fully before applying the next. If the coverage is still uneven after the final coat, sand down the affected areas and apply another coat of paint.
Bleeding Through
If you are painting a piece of furniture with a dark stain or paint, it may bleed through your new paint job. To avoid this, apply a coat of primer before painting to create a barrier between the old and new paint. If the issue persists, use a stain-blocking primer specifically designed to prevent bleeding through.
Chipping or Peeling
If you notice that your paint is chipping or peeling off the furniture, it may be due to insufficient preparation or poor-quality paint. To fix this issue, sand down the affected areas until you reach the bare wood, then clean and repaint the furniture using a high-quality paint and primer.
Crackling or Bubbling
Crackling or bubbling can occur when the paint is applied too thickly, or when you try to paint over a surface that is not completely dry. To fix this issue, sand down the affected areas and repaint using thin, even coats of paint, allowing each layer to dry completely before applying the next.
Remember, sometimes it takes a bit of trial and error to achieve the perfect painted finish. Don’t be discouraged if you encounter difficulties; with practice and persistence, you’ll become a pro in no time.
Showcasing Your Painted Furniture
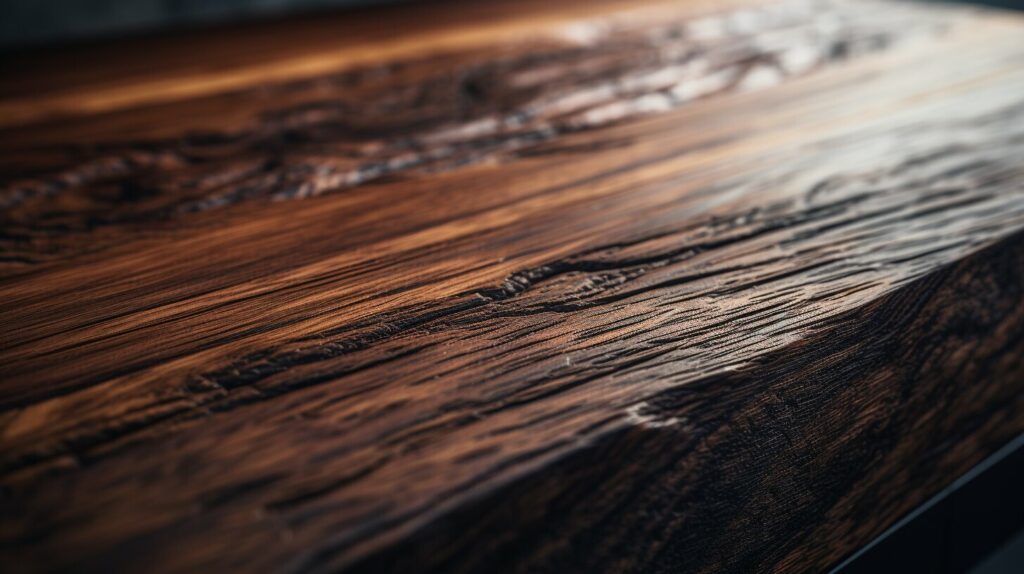
Now that you’ve transformed your tired furniture into a stunning new piece, it’s time to showcase your hard work! Here are a few ideas:
- Create a focal point: Use your painted furniture as the centrepiece of your room. Place it in a prominent location, such as the centre of the wall, or in a cosy reading nook.
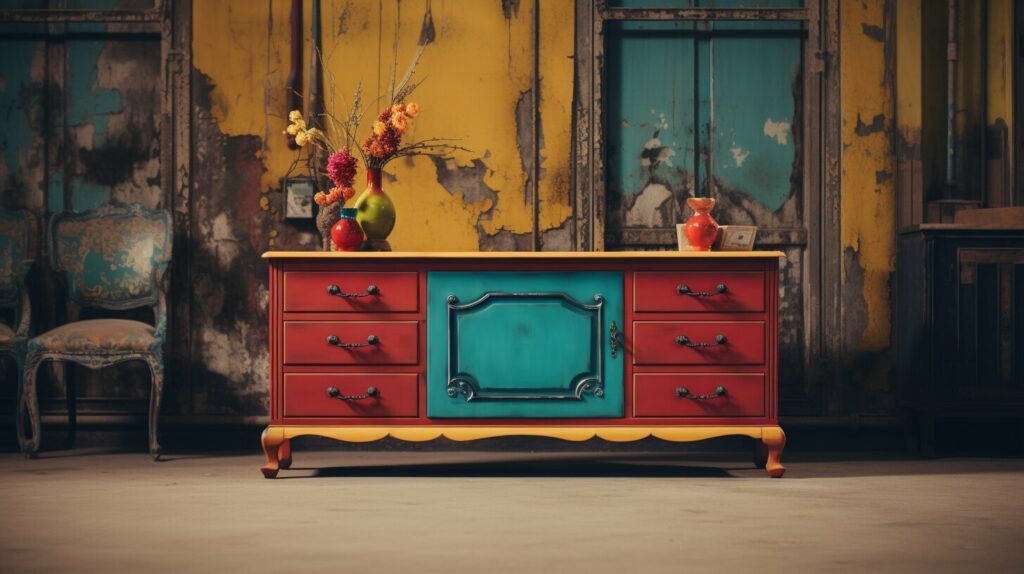
- Mix and match: Mix your painted furniture with other pieces to create a unique and eclectic look. Try pairing a brightly coloured dresser with neutral-toned walls for a pop of colour.
- Repurpose: Get creative and repurpose your painted furniture! Turn a painted wooden door into a headboard or use a refurbished dresser as a kitchen island.
- Sell it: If you’re feeling adventurous, consider selling your painted furniture on online marketplaces like Etsy or Facebook Marketplace. Be sure to price it fairly and accurately describe its features.
Remember, the possibilities are endless when it comes to showcasing your painted furniture. Don’t be afraid to experiment and have fun with it!
Final Thoughts on Painting Furniture
Congratulations, you have successfully learned how to paint furniture like a pro! By now, you should have a good understanding of the entire process, from selecting the right furniture to adding decorative touches and finishing the surface.
Remember, when it comes to furniture painting, preparation is key. Taking the time to properly clean, sand, and prime the furniture will make all the difference in achieving a flawless finish. Also, don’t be afraid to experiment with different techniques and finishes to create a unique and personalised look.
It’s important to take care of your painted furniture to ensure its longevity. Avoid harsh cleaning chemicals and be mindful of scratches and dents that may damage the surface. If you do need to touch up the paint, make sure to use the same type and colour of paint as before for consistency.
If you encounter any issues, such as paint drips or uneven coverage, don’t worry. Troubleshooting is all part of the process, and with a little patience and the right technique, you can overcome these challenges and achieve a flawless finish.
Now that you have transformed your old furniture into something new and exciting, it’s time to show it off! Consider incorporating your painted furniture into your room decor or even selling it for profit. The possibilities are endless.


