How to Paint Clouds
Welcome to this comprehensive guide on how to paint clouds. Whether you’re a beginner or an experienced artist, painting clouds can be a rewarding and enjoyable experience. By the end of this article, you’ll have a solid understanding of the techniques and skills required to create stunning cloud paintings that capture the mood and atmosphere of a beautiful sky.
Whether you’re capturing a bright blue, sunny day or a dark, stormy sky, painting clouds can help you create depth and atmosphere in your artwork.
Key Takeaways
- Understanding different types of clouds is crucial for realistic cloud painting.
- Choosing the right tools and materials is essential for achieving desired effects.
- Creating depth and composition in your painting can enhance the realism of the clouds.
- Colour selection can evoke different moods and atmospheres in cloud-filled skies.
- With patience and practice, anyone can learn to paint captivating and realistic clouds.
Understanding Clouds: A Key to Realistic Painting
Before you start painting clouds, it is essential to understand the different types and formations of clouds. To capture the essence of clouds on canvas, observation is key. Take the time to study reference images and observe the clouds in nature.
Clouds can be divided into specific categories based on their height, shape, and texture. These categories include cirrus, stratus, and cumulus clouds, among others. Each type of cloud has unique characteristics that influence the way it looks and behaves.
When painting clouds, it’s important to consider the direction and intensity of light sources, which can dramatically affect the appearance of clouds. Taking note of the position of the sun or moon in a scene can help you create a realistic and convincing depiction of clouds.
Overall, understanding the different types and behaviours of clouds will help you paint them more accurately and realistically. Take the time to study and observe the clouds around you, and you’ll be on your way to capturing their beauty on canvas.
Tools and Materials for Cloud Painting
Before you begin painting clouds, it’s important to have the right tools and materials on hand. Here is a list of items you will need:
| Brushes | Invest in a variety of brushes, including large and small round brushes, flat brushes, and fan brushes. Natural hair brushes, such as Sable, are ideal for blending, but synthetic brushes work well too. |
|---|---|
| Paints | Choose high-quality paints in a range of colours, including white, blue, grey, and yellow. Oil and acrylic paints are the most popular choices for cloud painting. |
| Canvas | Choose a good quality canvas that can withstand heavy brushstrokes and has enough teeth to hold the paint. Stretch the canvas on a sturdy frame or use canvas boards for smaller paintings. |
| Gesso | Priming your canvas with gesso helps to create a smooth, even surface for your paints. Apply at least two coats and allow to dry completely before painting. |
| Palette | A palette is essential for mixing paints and creating the right colours for your clouds. A large, flat palette with plenty of space is ideal. |
| Palette Knife | Use a palette knife to mix colours and create different textures in your clouds. A small, flexible knife is ideal for working on details. |
| Mediums | Adding mediums to your paints can help to create different effects, such as transparency or glossiness. Experiment with different mediums, such as linseed oil or varnish, to find the right one for your style. |
Having the right tools and materials will make cloud painting easier and more enjoyable. Now that you’re all set up, it’s time to start painting!

Setting the Stage: Preparing Your Canvas
Before you begin painting your clouds, it’s essential to prepare your canvas properly. This step will help create depth and enhance the realism of your cloud painting. Follow these steps to prepare your canvas:
- Prime your canvas: Apply a layer of gesso or primer to your canvas to create a smooth and even surface. This will help the paint adhere better and prevent it from soaking into the canvas.
- Apply background colour: Choose a colour for your background, keeping in mind that the sky is usually lighter near the horizon and darker at the top. Use a large brush to apply the paint evenly, leaving some areas uncovered to create variations in the sky’s colour.
- Create depth: To create depth in your painting, add distant clouds or mountains in the background. Mix the colours with white to make them lighter and appear farther away. Avoid adding too much detail as distant objects are less distinct and appear blurry.
By following these steps, you can create a proper canvas that sets the stage for the beautiful clouds you’re about to paint. Creating depth on your canvas before painting the clouds will add more realism to your artwork.
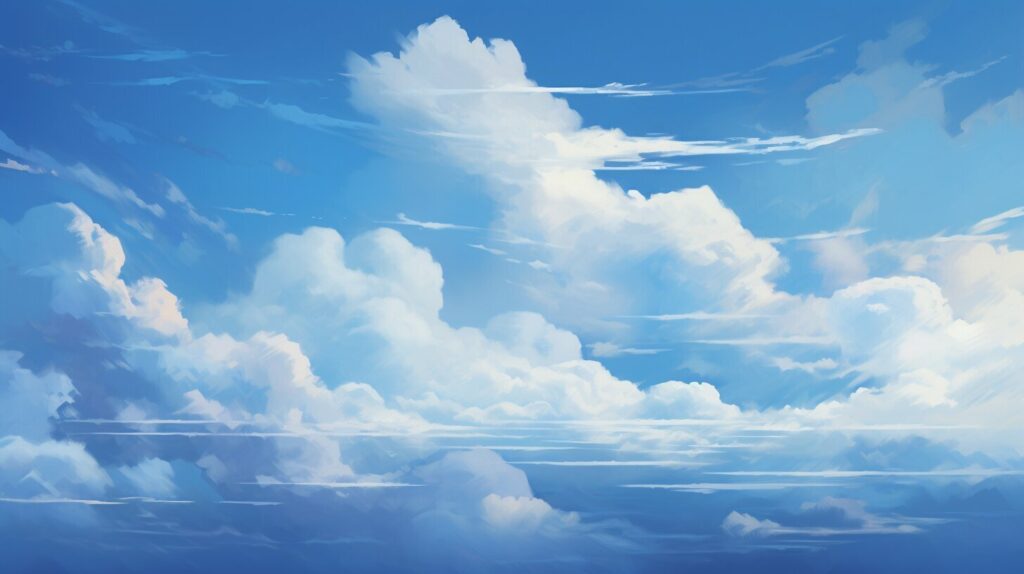
Basic Techniques for Painting Clouds
Before diving into the advanced techniques of cloud painting, it’s essential to master the basic techniques. Here are the fundamental skills you need to create realistic and beautiful clouds:
- Brush strokes: Clouds take on many shapes and forms, and it’s essential to use the right brush stroke to capture their essence. Use a soft-bristled brush for a more delicate stroke, and a stiffer-bristled brush for sharper, more defined edges.
- Blending: Creating a soft, blended transition between different shades is crucial in cloud painting. Try blending two shades of blue or white with a clean, dry brush to achieve a smooth, seamless look.
- Layering: Layering different shades of paint on top of each other is a great way to create depth and dimension in your clouds. Begin with the lightest shade and gradually build up to the darkest, blending between each layer as you go.
- Dry brushing: This technique involves using a dry brush to create a textural effect on the canvas. Wipe off most of the paint from the brush, and lightly drag it across the surface of the canvas to achieve a fluffy, cloud-like texture.
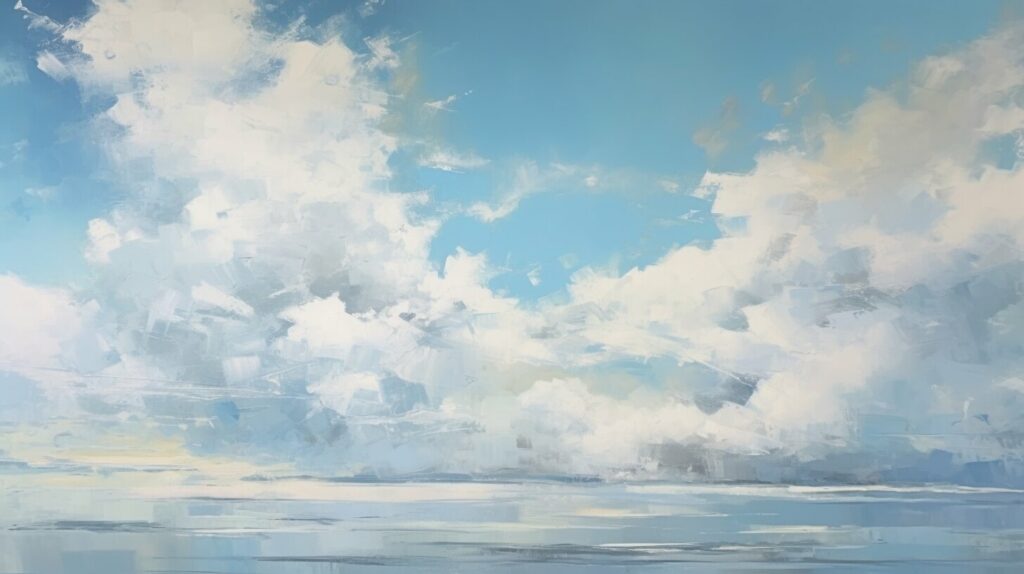
Practice these techniques with the image below and experiment with different brush strokes and color combinations to find your own unique style.
Adding Realism: Shadows and Highlights in Cloud Painting
To create a realistic and believable cloud painting, it’s essential to pay attention to the play of light and shadow on the clouds.
Observe the light source in your reference image or painting and use lighter shades of paint to replicate the illuminated parts of the clouds. Start with a light base layer and build up gradually with darker shades to create a sense of depth and dimension.
For shadows, use darker shades of paint and build up gradually to create a sense of depth and contrast. Pay close attention to the edges of the shadows, as this is where the cloud forms will appear most defined.
Using a dry brush or blending tool, blend the light and shadow areas together to create a gradual transition and avoid harsh lines. Be patient and take your time to build up the shadows and highlights gradually, ensuring a realistic and balanced look.
Remember that the colours of the clouds will change depending on the lighting conditions and time of day. Try to capture the colours and contrasts as accurately as possible to create a compelling and immersive painting.
Techniques for Adding Realism with Shadows and Highlights
| Technique | Description |
|---|---|
| Dry brushing | Use a dry brush with a small amount of paint to create soft and subtle shadows and highlights. |
| Blending tool | A blending tool helps to smooth out harsh lines and create a gradual transition between light and shadow. |
| Layering | Build up layers of paint gradually to create a sense of depth and dimension in the clouds. |
With these techniques and a keen eye for detail, you can create realistic and captivating cloud formations that add depth and atmosphere to your paintings.
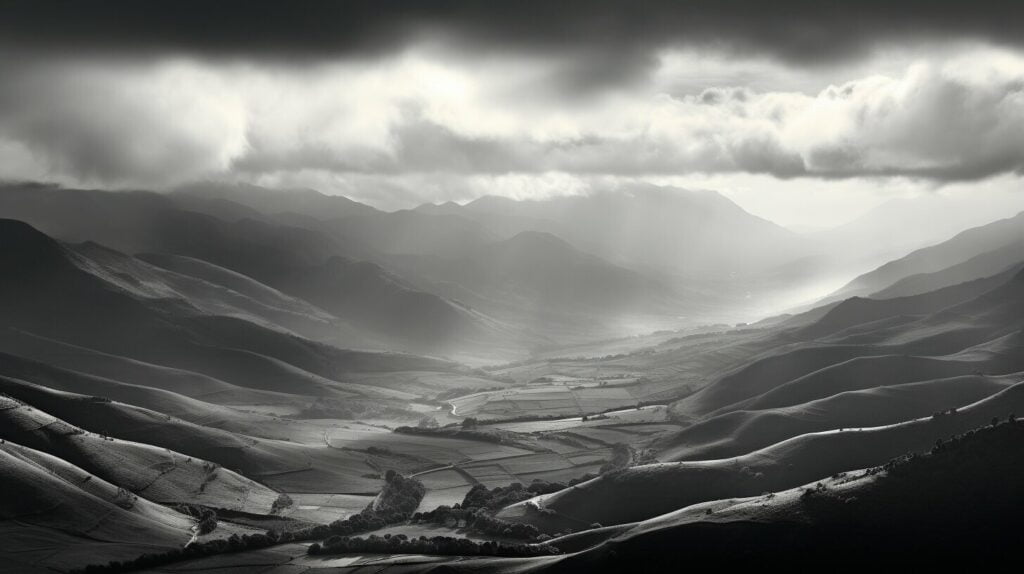
Creating Fluffy Clouds: Texturing Techniques
Clouds come in many shapes and sizes, so it’s essential to learn how to create textured and voluminous clouds that appear fluffy and soft. By using a variety of texturing techniques, you can add depth and dimension to your cloud painting, creating a realistic and captivating scene that draws the viewer in.
One technique for achieving a fluffy texture is stippling. Stippling involves dabbing your brush onto the canvas repeatedly, creating a stippled effect that mimics the soft edges of clouds. This technique is useful for creating cumulus clouds, which have distinctive shapes and distinct outlines.
| Stippling Technique | Example Image |
|---|---|
| Load a round brush with paint and dab it onto the canvas repeatedly in small dots |  |
Dry brushing is another technique that can be used to create textured clouds. With this technique, you load your brush with paint and then remove most of it by wiping it off on a cloth. Next, you lightly drag the brush across the canvas, creating a wispy texture that resembles the softer edges of clouds.
| Dry Brushing Technique | Example Image |
|---|---|
| Load a brush with paint, then remove most of it by wiping it off on a cloth. Lightly drag the brush across the canvas to create wispy textures. | 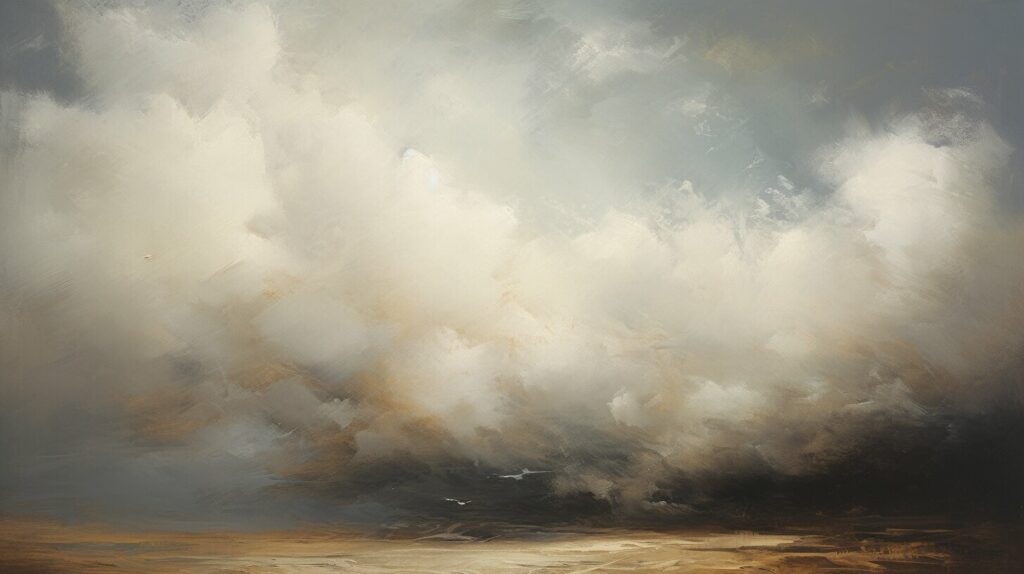 |
A palette knife is also an excellent tool to add texture to your cloud painting. Use the flat edge of the knife to scrape paint across the canvas, creating a unique texture that mimics the look of fluffy clouds. Palette knives are especially useful for creating the illusion of depth in your clouds.
| Palette Knife Technique | Example Image |
|---|---|
| Load a palette knife with paint and scrape it across the canvas to create textured effects | 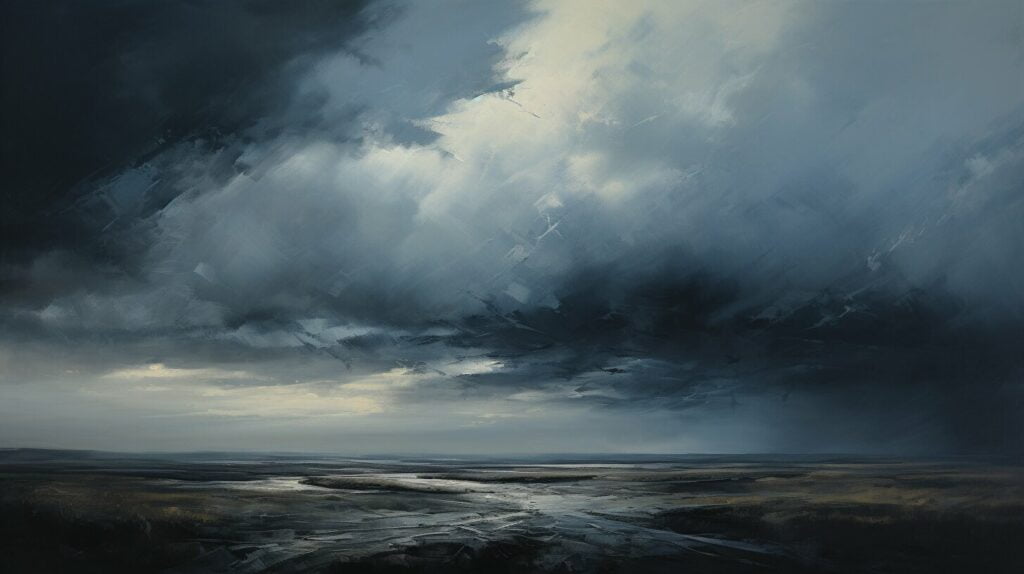 |
Experiment with these texturing techniques to create unique and captivating cloud formations. By adding fluffy and soft textures to your clouds, you’ll give your painting an ethereal quality that’s sure to captivate your audience.
Colour and Mood: Choosing the Right Palette
When painting clouds, choosing the right colour palette is essential for creating the desired mood and atmosphere. A bright blue sky with fluffy white clouds can evoke a cheerful and peaceful feeling, while a dark, stormy sky can convey drama and tension.
Begin by selecting a base colour for your sky. This will set the tone for the entire painting. You can use shades of blue, grey, or even pink or yellow depending on the time of day or the desired mood.
Next, choose colours for your clouds. White isn’t the only option; shades of grey, pink, orange, or even purple can add depth and interest to your clouds. Consider the time of day and the direction of the light source to determine which colours to use.
Remember to create harmony within your painting by using colours that complement each other. Blues and greens, for example, create a calming atmosphere, while reds and yellows evoke excitement and energy.
Experiment with different colour palettes to find what works best for your painting. Don’t be afraid to try unconventional colours; the sky is the limit!
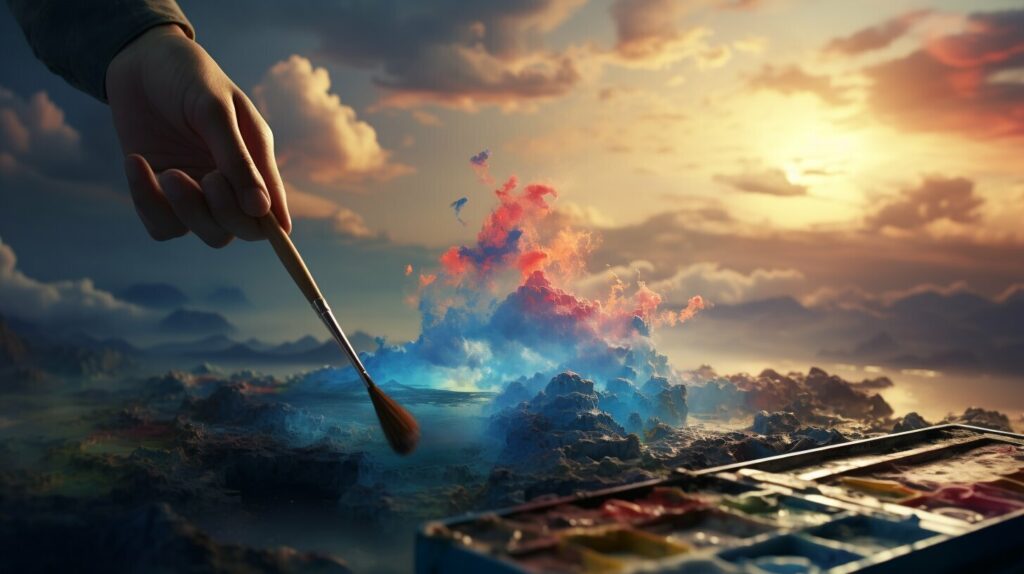
Image source: seowriting.ai
Refining Your Cloud Painting: Fine Details and Atmosphere
Now that you have mastered the basic techniques and captured the essence of clouds on your canvas, it is time to add fine details and atmosphere to your painting. These final touches can bring your artwork to life and make it more realistic. In this section, we will explore some techniques that you can use to refine your cloud painting.
Adding Realism with Fine Details
It is important to pay attention to the small details when painting clouds. It is these details that can give your artwork a sense of realism. One way to do this is by adding fine details to your clouds. Consider the edges of your clouds; are they soft and fluffy, or sharp and defined? Use a small brush to carefully paint in the details of the edges of your clouds, adding texture and depth as you go.
Another way to add fine details to your clouds is by paying attention to the way light affects them. Look closely at reference images to observe how different parts of clouds are illuminated by the sun. Use this knowledge to paint highlights and shadows in your own painting, adding an extra layer of depth and realism.
Creating Atmosphere
The atmosphere is an essential element when it comes to painting clouds. It can be used to create a sense of depth in your painting and make it more atmospheric. Consider adding a mist or haze effect to your painting to give it a sense of depth. You can do this by painting a thin layer of white or light-coloured paint over the top of your completed cloud painting. This will create a subtle misty effect that can make your painting more atmospheric.
Another way to create atmosphere is by painting distant clouds. These clouds can be painted in muted colors and with less detail than the larger, closer clouds in your painting. This will give your painting a sense of depth and make it feel more natural, imitating the atmospheric conditions of real-life cloud formations.

Adding fine details and atmosphere to your cloud painting can take time and patience, but the results are worth it. A well-refined cloud painting can create a sense of wonder and awe in its viewers, transporting them to a world of beauty and tranquillity. So take your time and experiment with different techniques until you achieve the perfect result.
Composition and Balance: Placing Clouds in Your Painting
Placing clouds within your painting can make or break the overall composition. When deciding where to position your clouds, consider the balance of the painting and the focal point you want to highlight. One technique to keep in mind is the rule of thirds. This means dividing your painting into thirds horizontally and vertically and placing your clouds where these lines intersect.
Remember to also think about the direction of your clouds. If you want to create a sense of movement or create a natural flow, consider positioning your clouds in a diagonal direction.
Don’t forget to also pay attention to the negative space around your clouds. This will help to create balance and harmony within your painting. Negative space is the space between the cloud formations and can be just as important as the clouds themselves.
When it comes to capturing the beauty of clouds, it’s not just about painting them accurately, but also placing them in a way that enhances the overall impact of your painting.
To further enhance your understanding of composition and balance, study famous paintings with clouds as the focal point. Observe how the artists placed the clouds within the painting and the effect it has on the overall composition. This will help you to develop your own eye for creating dynamic and impactful paintings.
Remember, practice makes perfect. Experiment with different compositions and placements of clouds to find what works best for you and your painting. With time and dedication, you’ll start to create spectacular cloud-filled skies that are both realistic and breathtaking.

Troubleshooting Common Cloud Painting Challenges
Cloud painting can be challenging, even for experienced artists. Here are some common problems you may encounter while painting clouds and tips for overcoming them:
Overworking the clouds
It’s easy to get carried away with painting clouds and end up overworking them. This can result in muddy colors, blurred edges, and a lack of definition. To avoid overworking your clouds, take breaks and step back from your painting often. Use a light touch with your brush and avoid adding too much paint at once. Remember, less is often more when it comes to painting clouds.
Struggling with perspective
Getting the perspective of clouds just right can be tricky. Pay attention to the position of the sun or light source in your painting, and use this as a guide for determining the direction of the shadows and highlights on your clouds. Remember that clouds in the distance will appear smaller and less detailed than those in the foreground. Using reference images can also be helpful in mastering cloud perspective.
Achieving the desired level of realism
Creating realistic clouds can take some practice, and it’s easy to get discouraged if your painting doesn’t turn out the way you imagined. One way to improve your realism is to study actual clouds and their formations. Pay attention to the way light interacts with the clouds and how they create depth in the sky. Another tip is to experiment with different brush strokes and techniques until you find what works best for you. Don’t be afraid to make mistakes and learn from them.
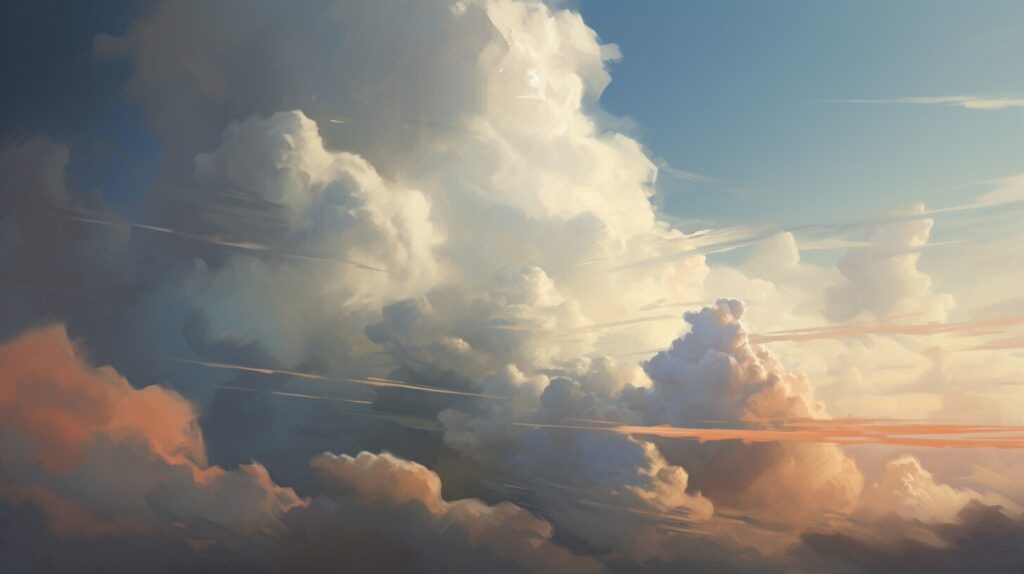
Remember, cloud painting is a skill that takes time and dedication to master. Don’t be too hard on yourself if you encounter challenges along the way. With practice and patience, you can create stunning and realistic cloud paintings that capture the beauty of the sky.
Conclusion
Congratulations on completing this insightful exploration of how to paint clouds! You’ve learned the importance of understanding the different types and formations of clouds and how observation and studying reference images can help you accurately depict them in your paintings. You now know the tools and materials required for cloud painting and how to prepare your canvas before starting to paint clouds.
Remember, as a beginner, you need to learn the basic techniques used in cloud painting, including brush strokes, blending, layering, and other fundamental skills necessary for creating realistic and beautiful clouds. Refining your cloud painting skills requires adding fine details and atmosphere to your cloud paintings, creating realistic cloud edges, and distant clouds, and adding atmospheric effects like haze or mist.
Colour selection is also crucial to evoke different moods and atmospheres in cloud-filled skies. You now know how to choose the right colours and create harmony within your painting. Additionally, composition and balance are essential when placing clouds within a painting. Tips on how to create dynamic compositions and showcase the beauty and impact of clouds as the main focal point were shared in the article.
If you encounter any challenges while painting clouds, don’t worry! You now have solutions to common issues such as overworking the clouds, struggling with perspective, or achieving the desired level of realism. Remember, with dedication and patience, anyone can learn to paint captivating and realistic clouds.
So, grab your brushes, paints, and canvas, and start painting those incredible clouds. Don’t forget to experiment and practice, so you can develop your unique style and technique. Happy painting!


