How to Use Acrylic Paint
Welcome to this beginner’s guide on how to use acrylic paint! If you’re new to acrylic painting or looking to improve your technique, you’ve come to the right place. In this article, we’ll explore the basics of acrylic paint and provide tips and techniques for creating stunning works of art.
Acrylic paint is a versatile and popular medium that can be used on a variety of surfaces, including canvas, paper, wood, and more. It dries quickly, allowing for layering and blending, and is water-soluble, making it easy to clean up and adjust as you work.
Whether you’re an experienced artist or just starting out, this guide will provide you with the skills and knowledge you need to create beautiful acrylic paintings. Let’s get started!
Key Takeaways:
- Acrylic paint is a versatile and popular medium that can be used on various surfaces.
- It dries quickly and is water-soluble, making it easy to work with and adjust as you go.
- This guide will provide you with the skills and knowledge you need to create beautiful acrylic paintings.
Acrylic Paint Basics
If you’re new to acrylic painting, it’s important to understand the basics of this versatile medium. Unlike oil paint, acrylics are water-based, which means they dry faster and are easier to clean up. They also have a slightly different texture and finish, which can take some getting used to.
Acrylic paint is made up of pigment suspended in an acrylic polymer emulsion, which is what gives it its characteristic creamy consistency and vibrant colour. Here are some key facts to keep in mind as you begin to work with acrylics:
| Characteristic | Description |
|---|---|
| Drying time | Acrylics dry quickly, typically within 20-30 minutes, which makes them ideal for layering and building up texture. |
| Opacity | Acrylic paint can be highly opaque or transparent, depending on the pigment used. This makes it easy to create layers of colour and achieve interesting effects. |
| Colour mixing | Acrylics are easy to mix and can be blended to create new shades and hues. Unlike some other types of paint, acrylics don’t need to be premixed on a palette first. |
| Surface | Acrylics can be used on a variety of surfaces, including canvas, paper, wood, metal, and plastic. However, it’s important to prime some surfaces first to ensure good adhesion and prevent the paint from soaking in. |
With these basics in mind, you’re ready to start exploring the possibilities of acrylic paint for your next art project.
Essential Supplies for Acrylic Painting
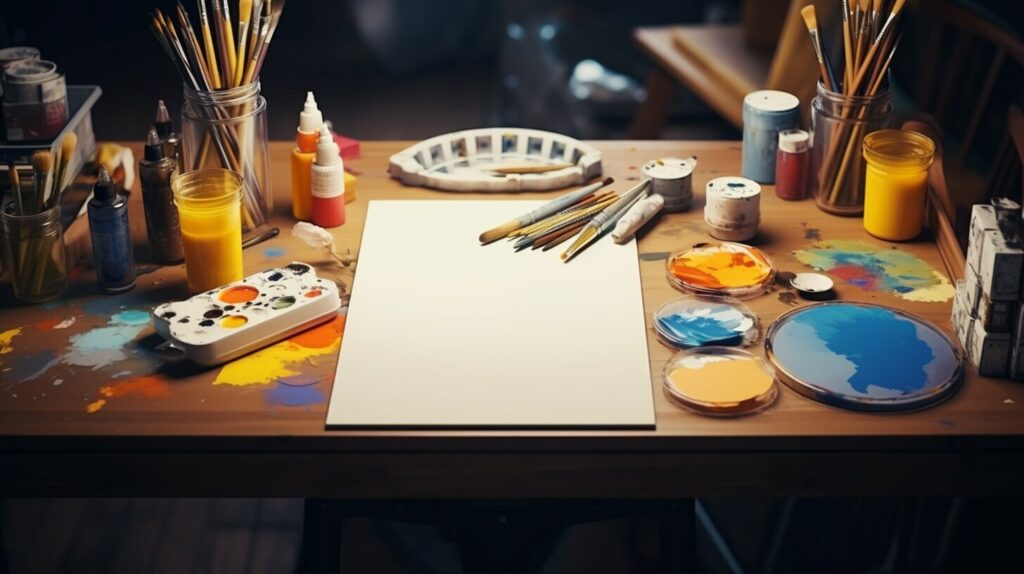
Before you start your acrylic painting journey, you need to ensure that you have the right supplies and materials to achieve the desired effect. Here’s a list of essential items you’ll need:
| Item | Usage |
|---|---|
| Acrylic Paints | Essential for painting. It’s best to start with a basic set of primary colours and gradually build up your collection as you gain experience. |
| Paint Brushes | Get a selection of brushes with different shapes and sizes for various techniques. Synthetic brushes are ideal for acrylic paints, and you should have at least one large flat brush for backgrounds. |
| Stretched Canvases | Choose canvases with an appropriate size for your project and ensure they’re primed before painting to create an even surface. |
| Palette | A flat surface for mixing and blending your paints. You can use a disposable palette or invest in a reusable one made of glass or plastic. |
| Mediums | These are additives that can change the consistency, texture, and drying time of your acrylic paints. It’s best to experiment with various mediums to find the ones that suit your painting style. |
| Water Container | Have a container of water handy to clean your brushes between colours and thin out your paints when necessary. |
These items are just the basics; there are many other tools and materials you can use in acrylic painting, such as masking tape, sponges, and palette knives. It’s up to you to decide which tools you need for your project, based on your painting style and preferences.
Pro tip: Store your paints and brushes properly to increase their lifespan. Keep your paints in a cool, dry place away from direct sunlight, and clean your brushes after use to prevent the bristles from drying out or clumping together.
Now that you have your supplies ready, let’s move on to the next section to learn how to prepare your workspace and surface for painting.

Preparing Your Workspace and Surface
Before you start painting with acrylics, it’s crucial to prepare your workspace and surface to ensure optimal results. Here are some essential tips:
Workspace
You need a workspace that can accommodate your materials and allow you to move around freely. Choose a well-ventilated area with good lighting, preferably natural light. This way, you’ll be able to see the colours accurately. Cover your work surface with a protective layer, such as a plastic tablecloth or newspaper, to prevent paint from staining your work area.
Surface
Acrylic paint adheres well to a variety of surfaces, including canvas, wood, paper, and fabric. Ensure your surface is clean and dry before applying the paint. If you’re using canvas, prime it with gesso to improve its absorbency and prevent the paint from seeping through. Allow the gesso to dry completely before starting to paint.
Materials
Gather all the necessary materials, such as brushes, canvases, palettes, and mediums, before starting to paint. Use high-quality brushes made from synthetic materials, as they’re durable and easy to clean. Select the appropriate canvas size for your painting and choose a palette with a smooth surface that’s easy to mix colours on. Using mediums can enhance the paint’s characteristics, such as texture and transparency, and prolong its drying time. Refer to Section 3: Essential Supplies for Acrylic Painting for a detailed list of materials needed.

Tip: Keep a spray bottle of water handy to moisten your paints when they start to dry out while you’re working.
Mixing and Blending Techniques
Acrylic paint offers a range of mixing and blending techniques that allow you to create unique and vibrant colours for your paintings.
One popular technique is wet-on-wet. This involves applying fresh paint onto a still-wet surface, allowing the colours to blend together to create more natural transitions.
Another blending technique is glazing, which involves applying a thin layer of transparent paint over a dry layer of opaque paint to create a luminous effect.
Dry brushing is another technique that involves using a dry brush with minimal paint to create a textured and layered effect.
Experimenting with various mixing and blending techniques can lead to unique and dynamic results in your acrylic paintings.

Different Application Techniques
Acrylic paints are versatile and can be applied in a variety of ways to create texture and depth in your artwork. Here are some application techniques to try:
- Layering: Apply thin layers of paint on top of each other to create depth and dimension. Let each layer dry before adding the next one to prevent smudging and mixing of colours.
- Stippling: Use a bristled brush or sponge to apply small dots of paint in a pattern. This technique is great for creating texture and adding detail to your artwork.
- Sponging: Use a sponge to lightly dab paint onto your canvas. This technique creates a soft and realistic texture, perfect for landscapes and backgrounds.
- Palette knives: Use a palette knife to apply paint directly onto your canvas. This technique creates bold and expressive strokes, perfect for abstract or modern art.

Experiment with these techniques and combine them to create unique effects in your artwork. Remember to keep your brushes and tools clean and switch them out for different effects.
Tips for Acrylic Paint Drying and Storage
Congratulations on finishing your acrylic painting! Now, it’s time to ensure that your hard work lasts for years to come. Here are some essential tips for drying and storing your acrylic paint:
| Tip | Description |
|---|---|
| Let it dry completely | After finishing your painting, allow it to dry completely before storing or framing it. Acrylic paint dries quickly, but it’s best to wait at least 24 hours to ensure it’s fully cured. |
| Avoid direct sunlight | Sunlight can cause acrylic paint to fade or yellow over time. Store your painting in a dry, cool, and dark place, away from direct sunlight, to preserve its colours. |
| Keep it away from heat | Heat can also damage acrylic paint, causing it to crack or peel. Avoid storing your painting near heaters or radiators. |
| Use a varnish | Applying a varnish to your painting can protect it from dirt, dust, and scratches. Wait at least a week after the painting has dried before applying a varnish. |
| Store it properly | If you need to store your painting for an extended period, wrap it in acid-free paper or plastic wrap to protect it from dust, and place it in a storage container. |
By following these tips, you can ensure that your acrylic painting remains in top condition for years to come. Happy painting!

Troubleshooting Common Acrylic Paint Issues
As a beginner, you might encounter some problems while using acrylic paint. Don’t worry; these issues are common and can be resolved with a little practice and patience. Here are some solutions to troubleshoot common acrylic paint issues:
Brush Strokes
If you’re struggling with visible brush strokes in your acrylic paintings, try switching to softer brushes or using a glazing technique. Another solution is to add a medium to your paint to make it more fluid and easier to apply.
Colour Mixing Problems
Mixing acrylic paint can be tricky, especially if you’re new to it. If you’re having trouble achieving the colour you want, start with a limited palette of primary colours and experiment with mixing them. Remember to mix enough paint for your entire painting to avoid discrepancies in colour. If you need to adjust the colour, add small amounts of paint at a time.
Achieving Smooth Gradients
If you’re struggling to achieve smooth gradients, try blending the colours while they’re wet or using a dry brush to soften the edges. You can also use a glazing technique to build up transparent layers of colour gradually.
Remember, practice makes perfect. Don’t get discouraged if you encounter these issues in the beginning. Keep experimenting and honing your skills, and you’ll soon be producing beautiful acrylic paintings.

Adding Depth and Dimension to Your Acrylic Paintings
One of the most exciting aspects of working with acrylic paint is the ability to create depth and dimension within your painting. By utilizing light and shadow, color variation, and texture, you can give your artwork a sense of realism and vibrancy.
To create dimension and depth, it’s essential to understand how light works. When light hits an object, it creates highlights and shadows, which give an object its three-dimensionality. By observing the way light interacts with objects in real life, you can recreate this effect in your painting.
Here are some techniques to try:
- Use a range of colors to create the illusion of depth. By layering colors and blending them, you can create an effect where some areas appear more distant than others.
- Create highlights by adding lighter shades of the base color to the areas of the painting that are hit directly by light. Conversely, use darker shades to create shadows and depth in areas that are not as well-lit.
- Use texture to create depth in your painting. You can create rougher, more textured areas to appear closer in the foreground and smoother, more blended areas in the background.
- Experiment with different brush techniques, such as stippling or cross-hatching, to create texture and variation in your painting.
- Consider using a palette knife to create ridges and peaks, mimicking the surface of an object.

Remember, creating depth and dimension is all about observing the way light interacts with objects in the real world and mimicking that effect in your painting. Don’t be afraid to experiment and play around with different techniques until you find the ones that work best for you.
Conclusion
Now that you have gained a comprehensive understanding of how to use acrylic paint, you can put your knowledge into practice and start creating stunning artworks. Remember to gather all the necessary supplies, prepare your workspace and surface, and experiment with various mixing and application techniques.
By following the tips and techniques outlined in this article, you can achieve depth, dimension, and realism in your acrylic paintings. Don’t be discouraged by any issues that may arise; instead, troubleshoot them using the solutions provided in this guide.
Continue to hone your skills and experiment with different approaches to acrylic painting, and see where your creativity takes you. With regular practice and dedication, you can become an expert in using acrylic paint and create works of art that truly stand out. Happy Painting!


