How to Whitewash Wood
If you’re looking to add a touch of rustic charm to your home decor, learning how to whitewash wood is an excellent technique to try. With its soft, muted finish, whitewashing can transform new or old wood into a beautiful, versatile accent piece that complements any style.
In this article, we’ll explore the basics of whitewashing wood, including the materials and techniques needed to achieve the desired effect. We’ll also provide step-by-step instructions on how to whitewash different types of wood, from furniture to flooring.
Whether you’re a DIY beginner or an experienced woodworker, this guide will help you create a stunning whitewashed finish that adds character and warmth to your home.
Key Takeaways:
- Whitewashing wood is an easy and affordable way to add a rustic touch to your home decor.
- Proper surface preparation is key to achieving a smooth, even finish.
- There are several techniques for whitewashing wood, including brush-on, wipe-on, and pickling methods.
- Whitewashing can be used on a variety of wood surfaces, from furniture to flooring.
- Experimenting with distressing techniques can add depth and character to your whitewashed finish.
Understanding the Basics of Whitewashing Wood
If you’re new to DIY home decor or simply looking for a new way to spruce up your space, whitewashing wood is a technique worth exploring. This popular trend involves applying a white or light-coloured wash to wood surfaces, creating a bright and airy feel.
The technique has a rich history dating back to the ancient Greeks, who used a mixture of lime and water to brighten their homes. Today, whitewashing has evolved into a versatile home decor technique that can be used on everything from walls to furniture.
In order to DIY a whitewash wood project, you’ll need a few key tools and materials. These include:
| Tools | Materials |
|---|---|
| Paintbrush or rag | Primer |
| Sanding block or sandpaper | Paint or stain (depending on desired finish) |
| Drop cloth or tarp | Water |
Once you have your tools and materials in hand, it’s time to move on to the next step: preparing your wood surface for whitewashing.
Preparing Your Wood for Whitewashing
Before you start the whitewashing process, it’s essential to prepare your wood surface to ensure the best possible finish. The key is to make sure the surface is clean, smooth and dry before applying any primer or whitewash. Follow these steps to properly prepare the wood:
- Clean the surface: Start by removing any dirt or debris from the wood with a damp cloth. For more stubborn stains, use gentle soap and water. Allow the surface to dry completely before moving on to the next step.
- Sand the wood: Use sandpaper to smooth any rough areas or imperfections on the wood. Start with a coarse grit paper and work your way up to a finer grit to achieve a smooth finish. Be sure to sand with the grain of the wood to avoid damaging the surface.
- Remove any dust: After sanding, wipe the surface with a clean, dry cloth to remove any sanding dust. This will ensure that the primer and whitewash adhere evenly to the wood surface.
By properly preparing your wood surface, you’ll create a smooth and even finish for your whitewashed wood project. Now that your surface is prepped and ready to go, it’s time to move on to choosing the right whitewashing technique for your project.
Choosing the Right Whitewashing Technique
Choosing the right technique for your project is crucial to achieving the desired outcome. Here are some popular whitewashing techniques to consider:
| Technique | Pros | Cons |
|---|---|---|
| Brush-on | Easy to apply, can cover large areas quickly | Can be difficult to achieve an even finish, and may require multiple coats |
| Wipe-on | More control over the amount of whitewash applied can achieve a smoother finish | Can be time-consuming, requires more effort |
| Pickling | Creates a unique, translucent finish that allows the wood grain to show through | Can be more difficult to apply, and may require more time and effort to achieve the desired effect |
Consider the size and type of your project, as well as the level of control and finish you want to achieve when choosing a technique.
Brush-On Technique
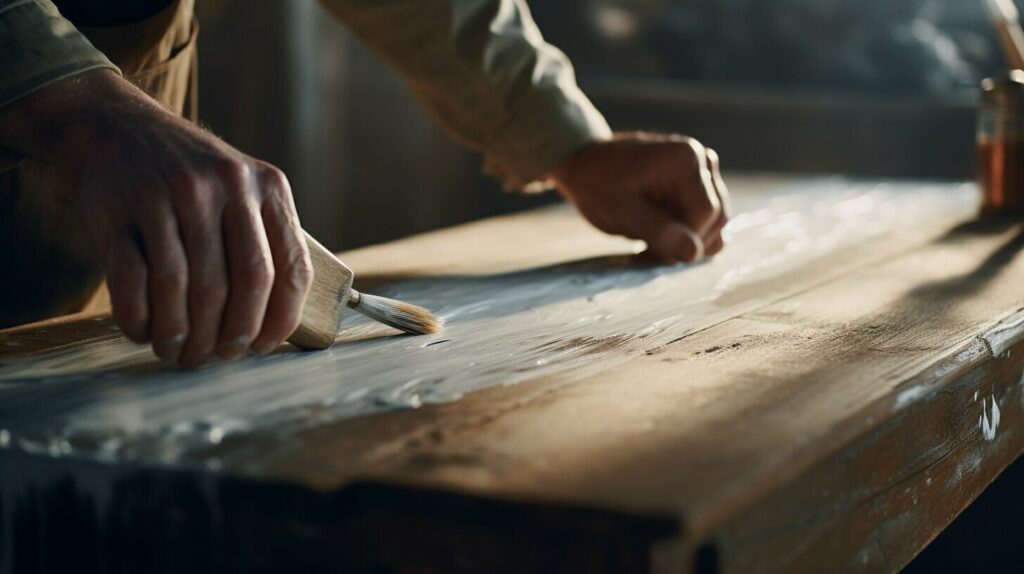
This technique is ideal for large surfaces such as walls or floors. Apply the whitewash using a wide brush and use long, even strokes. Ensure that you work in the direction of the grain to achieve an even finish.
Wipe-On Technique
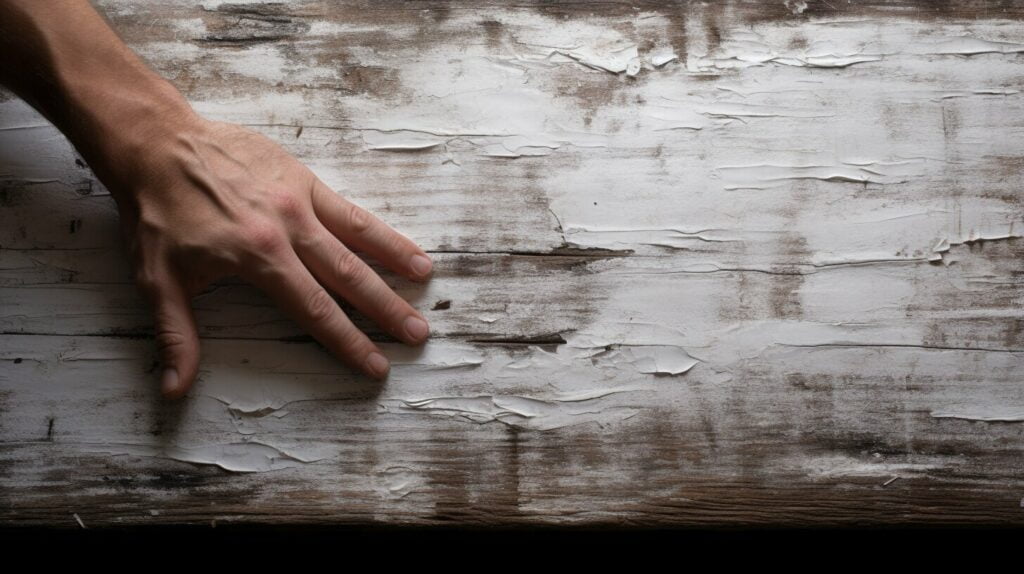
For a smoother finish and more control over the amount of whitewash applied, the wipe-on technique is a great option. Apply the whitewash with a cloth or sponge and wipe off any excess as needed. This technique may require multiple coats to achieve the desired finish.
Pickling Technique
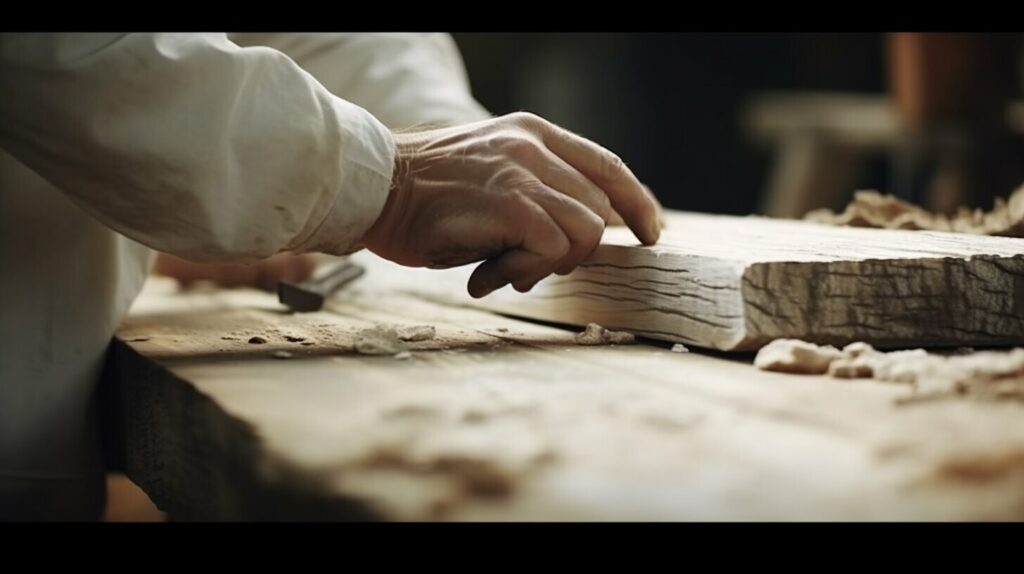
For a unique, translucent finish that allows the wood grain to show through, try the pickling technique. Apply a thin coat of white-tinted pickling stain to the wood, and then wipe off any excess with a cloth. For a more pronounced effect, apply additional coats.
Experiment with different techniques and find the one that works best for your project. Remember to always test on a small, inconspicuous area before applying to the entire surface.
Step-by-Step Guide to Whitewashing Wood
Ready to give whitewashing a go? Follow these steps:
- Prepare your work area: Lay down a drop cloth or newspaper to protect your workspace and wear gloves and a mask to protect yourself from fumes. Ensure the space is well-ventilated.
- Clean and sand your wood: Use a clean, dry cloth to remove any dust or debris on the wood surface. Then, use sandpaper to create a smooth, even surface. Wipe the surface clean with a tack cloth.
- Apply a primer: Apply a primer to the wood to ensure even coverage and help the whitewash adhere to the surface. Use a paintbrush or roller to apply an even layer of primer and let it dry completely.
- Mix your whitewash: In a separate container, mix paint with water in a 1:1 ratio. Test the mixture on a small section of the wood to ensure it creates the desired effect.
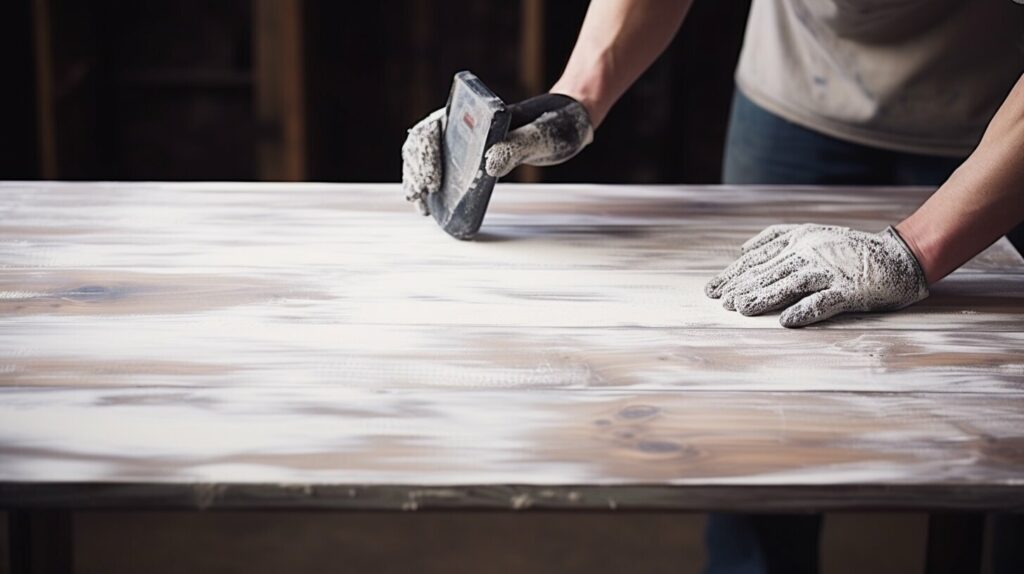
- Apply the whitewash: Use a brush or rag to apply the whitewash to the wood, working in the direction of the grain. Apply a thin layer at first and add more coats as desired. Wipe away any excess with a clean cloth.
- Let it dry: Allow the whitewash to dry completely before handling the wood. This can take several hours or overnight, depending on the humidity and temperature of your workspace.
- Optional: Add a sealer: If you want to protect the finish and make it more durable, apply a sealer over the whitewashed surface. Choose a product that is designed for use on wood and follow the manufacturer’s instructions.
Remember, practice makes perfect. Don’t worry if you don’t achieve the desired effect on your first try. Experiment with different techniques and enjoy the process of creating a unique, personalised finish for your wood.
Achieving a Rustic Whitewashed Wood Finish
If you’re looking to create a rustic look with your whitewashed wood, there are a few techniques you can use. Distressing the wood is one of the most popular methods, and it involves intentionally damaging the surface to create an aged appearance.
You can achieve this effect by sanding the wood with coarse-grit sandpaper, focusing on the edges and corners. Another option is to use a wire brush to scrape the surface and create small grooves. Be sure to wear protective gloves and eyewear when using these tools.
After distressing the wood, you can add additional layers of whitewash or even a stain to deepen the colour and enhance the rustic look. Experiment with different techniques to find the best one for your project.
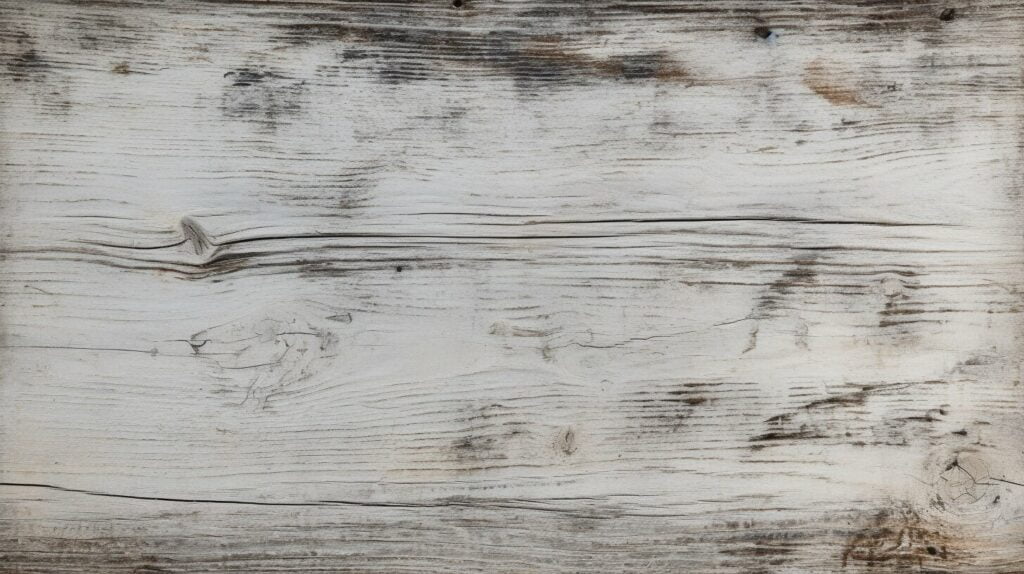
One thing to keep in mind is that the rustic look works best on certain types of wood. Knotty pine and oak, for example, are popular choices for achieving a rustic whitewashed look. If you’re working with a different type of wood, it’s a good idea to test your technique on a small area first to see how it looks.
By following these tips and techniques, you can achieve a beautiful rustic whitewashed wood finish that will add character and charm to your home decor.
Whitewashing Wood Furniture
If you’re looking to add a touch of charm to your home, whitewashing your furniture is a great way to achieve a rustic and vintage look. However, to achieve a flawless finish, there are a few things you need to keep in mind.
Firstly, it’s important to prep your furniture surface properly. Clean it thoroughly to remove any dirt or dust, then sand the surface to create a smooth and even texture.
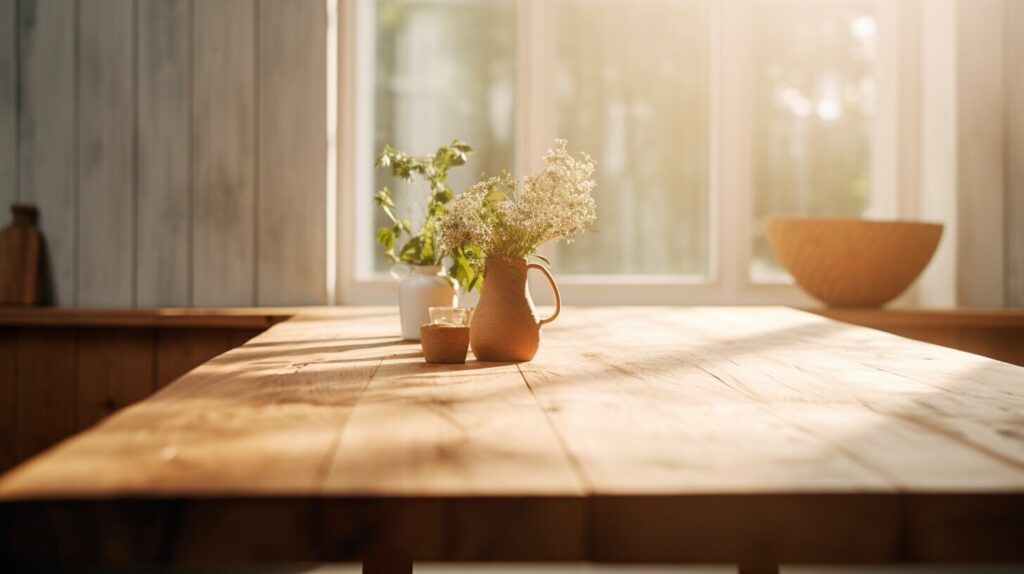
When choosing the whitewashing technique, keep in mind the type of furniture you’re working with. For instance, for large and flat surfaces, such as dining tables, a brush-on technique may be the most effective. However, for intricate details and smaller surfaces, wipe-on or pickling methods would be a better choice.
Whichever technique you choose, make sure to apply it evenly and in thin layers. This will ensure that the paint doesn’t pool in the crevices and creates a smooth finish.
For an even more antique look, you can add additional layers of whitewash or sand the surface after applying the paint to create a distressed effect.
Remember, patience is key to achieving a flawless look. Take your time, follow the steps closely, and you’ll be thrilled with the results.
Tips and Tricks for Successful Whitewashing
If you want your whitewashed wood to look professional, it’s important to follow a few tips and tricks. Here are some pointers to help you achieve the best results:
- Choose the right paint: For a classic whitewashed look, use white latex paint diluted with water. Add more water for a more subtle finish, or less water for a bolder look.
- Test your technique: Before applying the whitewash to your wood surface, experiment with different techniques on a scrap piece of wood to find the look you want.
- Use a primer: Applying primer to your wood before the whitewash will help the paint adhere better and last longer.
- Apply the whitewash in sections: Work in small sections when applying the whitewash, ensuring that each section is even and consistent before moving on to the next.
- Sand between layers: Sanding between layers of whitewash can help achieve a smoother finish and enhance the rustic look.
- Keep it simple: A little bit of whitewashing goes a long way. Don’t apply too many layers or you risk covering up the natural beauty of the wood.
With these tips in mind, you’ll be well on your way to achieving beautiful whitewashed wood finishes like a pro!
Conclusion
Congratulations! You’ve just learned how to whitewash wood! With these techniques and tips, you can achieve a beautiful, rustic finish on any wood surface. Remember that preparation is key, so take the time to clean and sand your wood before applying the whitewash.
You now have the knowledge to choose the right technique for your desired outcome, whether it’s a brush-on, wipe-on or pickling method.
Experiment with Rustic Finishes
If you’re looking to add some character to your wood, experiment with techniques for achieving a rustic finish. Try distressing the wood with sandpaper or a wire brush, or adding extra layers of stain for an aged appearance.
Consider Whitewashing Your Furniture
Don’t be afraid to try whitewashing on furniture! Just remember to properly prepare the surface, and don’t rush the process. Take your time to achieve a professional and beautiful finish.
Try Something New
Whitewashing wood is a versatile technique that allows you to create a customized finish that suits your style. With the right tools and techniques, you can achieve a beautiful, rustic look on almost any wood surface. So go ahead, and try something new – you might just be surprised at the stunning results!


