How to Paint Cabinets
If you’re looking to give your kitchen or bathroom a makeover without breaking the bank, painting your cabinets is a great option. Not only is it cost-effective, but it can also give your space a fresh, modern look. However, painting cabinets requires some skill and patience to achieve a professional-looking finish. In this section, we’ll provide an overview of the process of painting cabinets and introduce the key tips for achieving a successful outcome.
Before you begin, it’s essential to prepare your cabinets properly. This involves cleaning the surfaces, sanding them to create a smooth surface for paint adhesion, and removing any hardware. You’ll also need to gather the necessary materials, such as sandpaper, primer, paint, brushes, and rollers, and select the right type of paint for cabinets. By following the steps and tips outlined in this article, you can transform your tired, outdated cabinets into beautiful, modern statement pieces that will enhance your space and add value to your home.
Key Takeaways:
- Proper preparation of the cabinets is essential for achieving a professional-looking finish.
- Gather all necessary materials before starting the project.
- Selecting the right type of paint and color is crucial.
Gathering the Necessary Materials
Before you start painting your cabinets, you’ll need to gather a few materials. Here’s a list of what you’ll need:
| Materials | Quantity |
|---|---|
| Sandpaper (120-grit and 220-grit) | 1-2 sheets each |
| Primer | 1 quart |
| Paint | 1-2 quarts (depending on the size of your cabinets) |
| Paintbrushes | 1-2 (1-inch and 2-inch sizes) |
| Rollers | 1-2 (4-inch foam rollers) |
| Painter’s tape | 1 roll |
| Degreaser | 1 bottle/can |
| Drop cloths or paper | As needed |
| Screwdriver | As needed for hardware removal |
When selecting paint for your cabinets, consider factors such as durability, finish, and colour. Look for a high-quality paint specifically designed for cabinets, as this will provide the best results. You can choose from oil-based or water-based paints, with both having their own advantages and disadvantages.
Preparing the Cabinets for Painting
Before painting your cabinets, you need to properly prepare the surfaces to ensure the best possible outcome. Follow these steps for a successful cabinet refinishing:
- Clean the cabinets: Remove any dirt, grime, or grease using a mild detergent and warm water solution. Rinse the cabinets thoroughly with clean water and allow them to dry completely.
- Remove hardware: Take off all the cabinet hardware, including handles, knobs, and hinges. Place them in a container or bag to keep them organized and prevent loss.
- Fill any holes or cracks: Use wood filler or putty to fill any holes, cracks, or gaps in the cabinet surface. Allow the filler to dry completely and sand it smooth with a fine-grit sandpaper.
- Sand the cabinets: Sand the entire surface of the cabinets with fine-grit sandpaper (between 120 to 220 grit). This will create a smooth surface for the primer to adhere to. Be sure to sand lightly in the direction of the wood grain to avoid scratches or gouges.
- Remove dust: After sanding, wipe down the cabinets with a clean, damp cloth to remove any dust or debris. Allow them to dry completely.
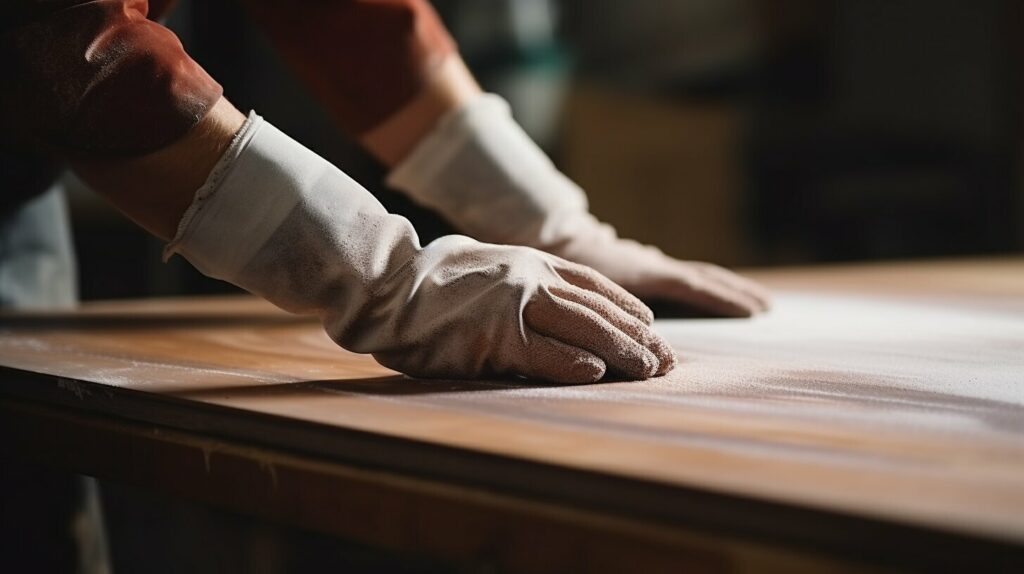
Proper preparation is key to a successful cabinet refinishing project. Taking the time to clean, sand, and fill any imperfections in your cabinets will ensure a smooth and even finish.
Applying Primer
Primer is a crucial step in achieving a professional-looking finish for your painted cabinets. Not only does it create a smooth surface for the paint to adhere to, but it also helps to prevent stains and discolouration from bleeding through the paint.
When selecting a primer, look for one that is specifically formulated for use on cabinets and is compatible with the type of paint you plan to use. Apply the primer evenly over the entire cabinet surface, using a brush or roller. Be sure to follow the manufacturer’s instructions for drying time before proceeding to the next step.
Note: A high-quality primer can also help to reduce the number of coats of paint needed for complete coverage, saving both time and money in the long run.
Choosing the Right Paint and Color
When it comes to painting cabinets, choosing the right type of paint is crucial for achieving a professional finish. While a variety of paints can be used, it’s important to select one that is durable and specifically designed for cabinets.
Latex Paint: Latex paint is a popular option for painting cabinets as it is easy to clean and dries quickly. It also comes in a variety of finishes from matte to high gloss. However, it may not be as durable as oil-based paint.
Oil-Based Paint: Oil-based paint is extremely durable and resistant to wear and tear. However, it does take longer to dry and may emit strong fumes during application.
When selecting a color for your cabinets, consider the overall design of your space and choose a color that complements it. Neutral tones such as white, grey, and beige are common choices for cabinet makeovers, but don’t be afraid to go bold with a pop of colour.
Image source: 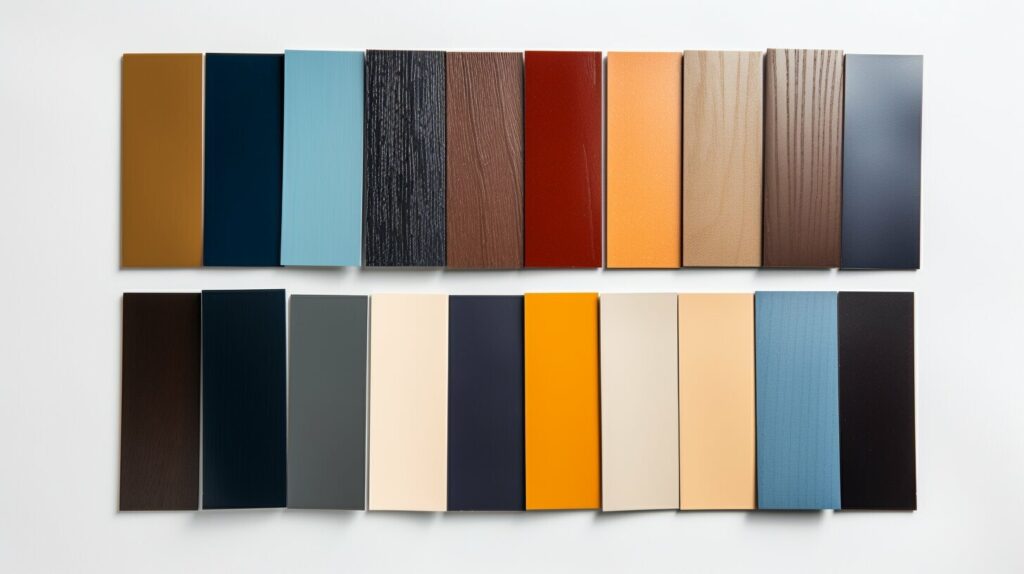
Painting the Cabinets
Now that you have prepared the cabinets for painting, it’s time to start painting. Follow these steps to achieve a professional-looking finish.
Step 1: Apply the First Coat
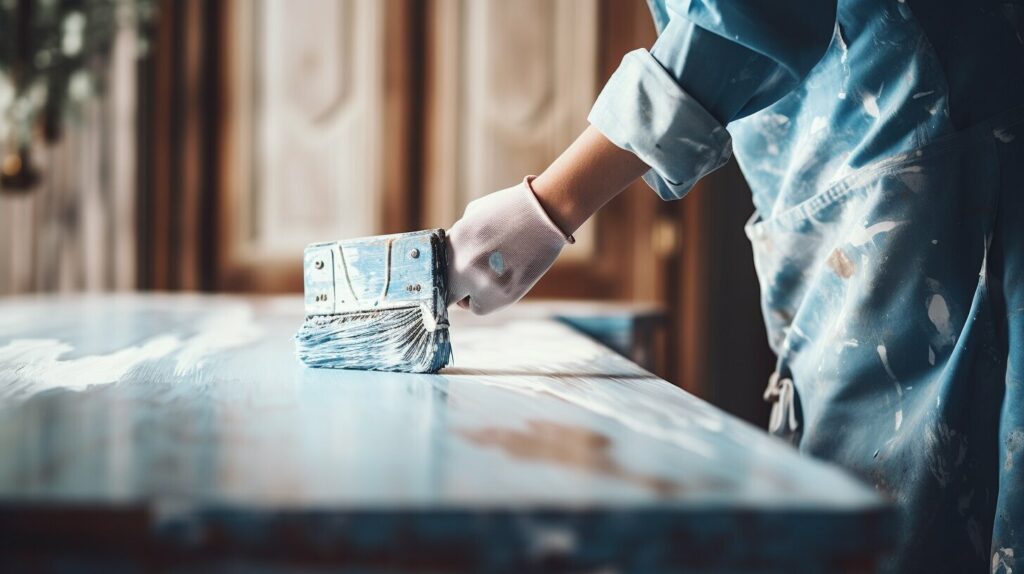
Using a brush or roller, apply the first coat of paint to the cabinets. Start by painting the backside of the cabinet doors, then move on to the front. Use long, even strokes and be sure to apply the paint thinly and evenly. Avoid leaving brush marks or drips. Allow the first coat to dry completely.
Step 2: Sand the Cabinets
Once the first coat has dried, sand the cabinets lightly with fine-grit sandpaper. This will help smooth out any brush marks or imperfections in the paint. Wipe away any dust with a clean cloth.
Step 3: Apply Additional Coats of Paint
Apply a second coat of paint to the cabinets using the same technique as before. Again, be sure to apply the paint thinly and evenly to avoid drips or brush marks. Allow the second coat to dry completely before applying a third coat if necessary.
Step 4: Reattach Hardware
Once the final coat of paint has dried, reattach the hardware to the doors and drawers. Use a drill or screwdriver to secure the screws in place. Check that the doors and drawers open and close smoothly and make any necessary adjustments.
Congratulations, you have successfully painted your cabinets! With proper care and maintenance, they will look great for years to come.
Finishing Touches and Reassembling
After the final coat of paint has dried, it’s time to add the finishing touches to your newly painted cabinets. However, before reassembling the cabinets, it’s crucial to allow the paint to fully cure for at least 24 hours, or according to the manufacturer’s instructions. This will ensure that the paint is durable and resistant to scratches and other damage.
To further enhance the durability and appearance of your painted cabinets, consider adding a topcoat or sealant. This will protect the cabinets from moisture, heat, and other elements that can cause damage over time. Be sure to choose a product that is suitable for painted surfaces, and follow the manufacturer’s application instructions carefully.
Once the paint and topcoat have dried, it’s time to reassemble the cabinets. Begin by reattaching the hardware, including handles, knobs, and hinges. Be sure to tighten any screws or bolts as needed, but avoid over-tightening, as this can cause damage to the hardware or the cabinet itself.
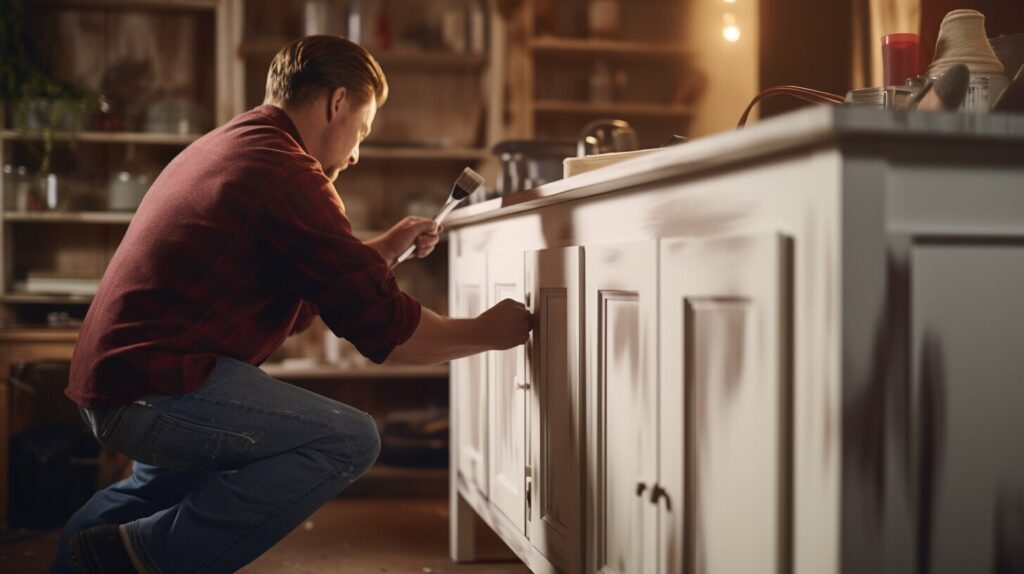
If any adjustments are needed, such as realigning cabinet doors or drawers, take the time to make these changes now. This will ensure a seamless finish and a professional-looking result. Lastly, stand back and admire your newly painted cabinets, and enjoy the refreshed look they bring to your kitchen or bathroom!
Maintenance and Care for Painted Cabinets
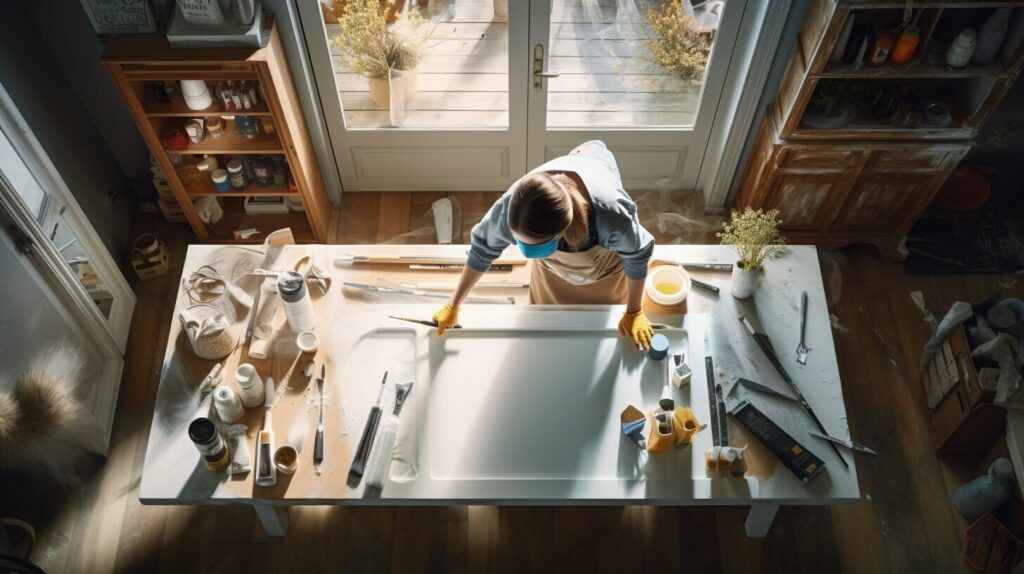
After successfully painting your cabinets, it’s essential to take care of them properly to ensure they look great for years to come. Here are some tips on how to maintain and care for your painted cabinets:
- Regular cleaning: Wipe down your cabinets regularly with a soft, damp cloth. Avoid using harsh chemicals or abrasive materials that could damage the paint finish.
- Spills and stains: Clean up any spills or stains immediately to prevent them from setting into the paint. Use a gentle soap solution and avoid scrubbing too hard.
- Avoid heat and steam: Avoid placing hot appliances or dishes directly on your cabinets, as the heat can damage the paint. Similarly, try to keep your cabinets away from steamy areas like the stove or dishwasher.
- Touch-ups: If you notice any chips or scratches in the paint, touch them up immediately to prevent them from getting worse. Keep some extra paint on hand for this purpose.
By following these simple tips, you can keep your painted cabinets looking their best and protect your investment.
Troubleshooting Common Issues
Painting cabinets can be a challenging task, and it’s not uncommon to encounter some issues along the way. However, with the right techniques and troubleshooting tips, you can overcome common problems and achieve a beautiful finish on your cabinets. Here are some of the most common issues faced by DIY cabinet painters and how to solve them:
Issue #1: Paint peeling or chipping
If you notice paint peeling or chipping off your cabinets, it may be due to inadequate surface preparation or using the wrong type of paint. To fix this issue, remove the peeling paint with sandpaper or a scraper, and then sand the surface thoroughly before applying a new coat of primer and paint. Use a paint suitable for cabinets and ensure it’s fully dry before moving on to the next coat.
Issue #2: Streaks or uneven finish
If you notice streaks or an uneven finish on your cabinet doors, it may be due to poor painting techniques. Avoid using too much paint or applying it too thinly, as this can result in streaky or uneven coverage. Ensure a smooth surface by sanding the cabinets between each coat and use long, even brush strokes or a foam roller to distribute the paint evenly. Remember to paint in the direction of the wood grain.
Issue #3: Paint has dried with brush marks or bubbles
If you notice brush marks or bubbles in your dried paint, it may be due to over-brushing or not adding enough paint. To fix this issue, sand the surface with fine-grit sandpaper to remove the brush marks or bubbles and then reapply a thin coat of paint, using a light touch and long, even brush strokes. Alternatively, you can use a foam roller to achieve a smoother finish.
Issue #4: Paint has not dried properly
If you notice that your paint is still tacky or wet after an extended period, it may be due to humidity or applying too thick a coat of paint. To fix this issue, move the cabinets to a well-ventilated area or use a dehumidifier to reduce humidity levels. You can also use a fan to speed up the drying process. If the paint is still wet after several hours, consider sanding the surface lightly and applying a new coat of paint.
Remember, achieving a professional-looking finish on your cabinets takes time, patience, and attention to detail. By following the proper techniques and troubleshooting tips outlined here, you can overcome common issues and achieve beautiful, long-lasting results.
Conclusion
Congratulations, you have successfully completed your cabinet refinishing techniques! By following the steps and tips outlined in this article, you have transformed your outdated cabinets into a fresh and modern look that complements your space.
Remember to take your time during each stage of the process and don’t rush the painting. Proper preparation and application techniques are key to achieving a professional-looking finish that will last for years to come.
Keep Up with Maintenance
Now that your cabinets are painted, it’s important to maintain them properly. Regular cleaning with gentle products and avoiding harsh chemicals will extend the life of your cabinets and prevent damage to the paint.
If you experience any scratches or chips, touch up the affected areas with the same paint and techniques used in the original application. This will keep your cabinets looking fresh and new for years to come.
Troubleshooting Tips
If you encounter any issues during the cabinet painting process, don’t panic! Check out the troubleshooting tips provided in this article to find a solution to your problem. Remember that mistakes happen, and they can often be fixed with a little patience and effort.
Thank you for reading this article and for taking on the challenge of painting your cabinets. Enjoy your newly transformed space and the satisfaction of a DIY job well done!


