How to Paint Kitchen Cabinets
Are your kitchen cabinets in dire need of a makeover? Painting your cabinets can give your kitchen a fresh, modern look without breaking the bank. But before you dive in, it’s important to know the steps to achieve a professional-looking finish. From selecting the right paint to techniques for applying it, we’ve got you covered with our step-by-step guide for painting kitchen cabinets.
Key Takeaways:
- Painting your kitchen cabinets can transform the overall look of your kitchen.
- Follow a step-by-step guide and select the best paint for achieving desired results.
Gathering the Right Tools and Materials
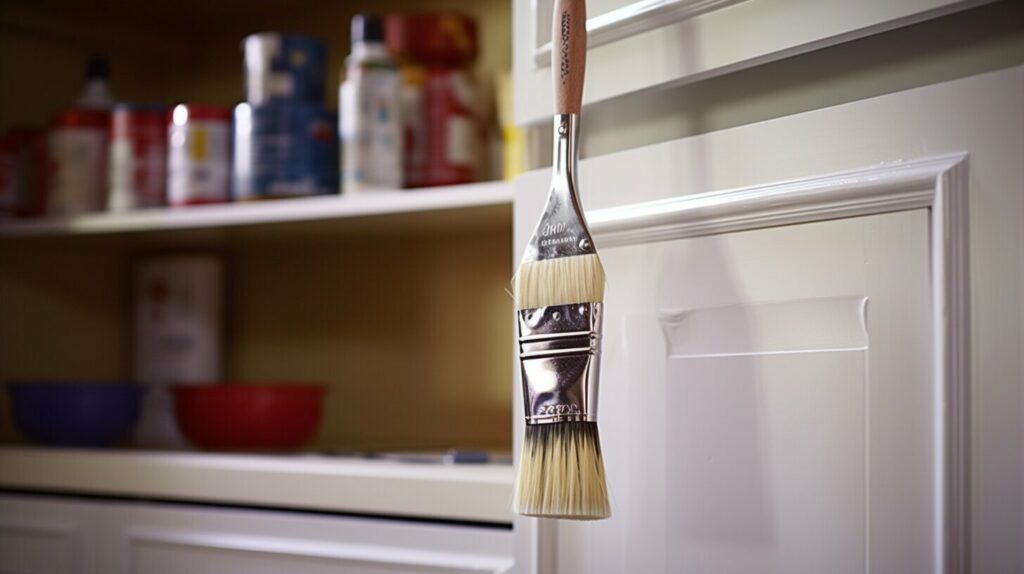
Before starting to paint your kitchen cabinets, it’s important to gather all the necessary tools and materials to ensure a smooth and successful DIY project.
| Tools | Materials |
|---|---|
| Sandpaper | Primer |
| Paintbrushes | Paint |
| Roller | Degreaser |
| Screwdriver | Drop sheets |
| Painter’s tape | Clean rags |
| Wood filler | Primer |
You may also need to purchase additional materials depending on the condition of your cabinets and the desired finish. For example, if your cabinets have imperfections or gaps, you may need to use wood filler to smooth them out before painting.
Remember to wear protective clothing and use proper ventilation when working with chemical products such as degreasers and paint.
Preparing Your Cabinets for Painting
Before you start painting your kitchen cabinets, it’s essential to prepare the surfaces properly. This will ensure that the paint adheres well and lasts longer. Here are some steps to follow:
Remove Cabinet Doors and Hardware
Start by removing the cabinet doors and any hardware attached to them. Place them on a drop cloth or a flat surface where you can easily access them. This will make it easier to paint the frames and ensure that you don’t accidentally paint the hardware.
Clean and Degrease Surfaces
Next, clean the cabinet surfaces thoroughly to remove any dirt, grime, or grease buildup. You can use a mixture of warm water and mild detergent. Wipe the surfaces with a clean rag, and let them dry completely.
Sand Down the Existing Finish
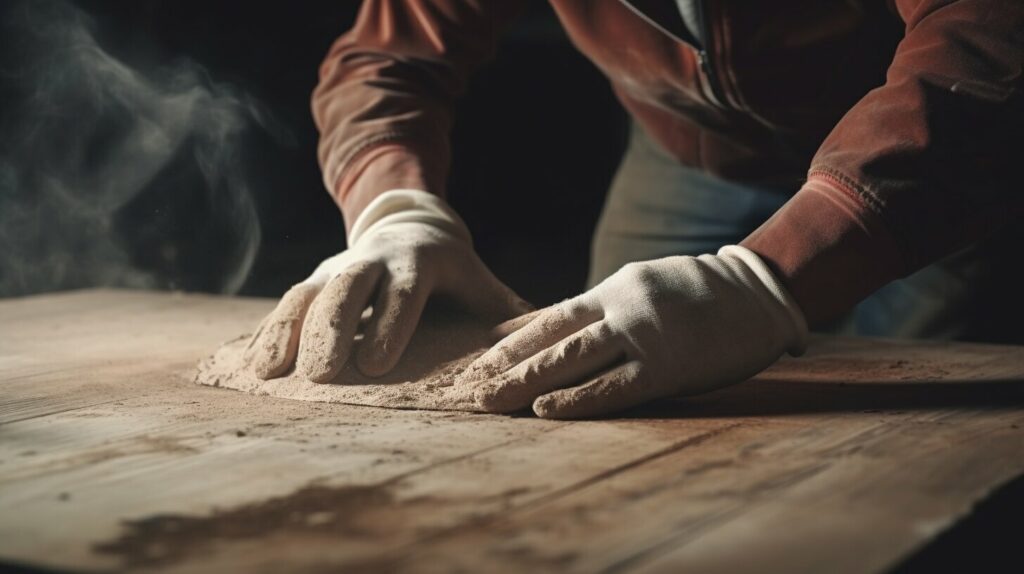
Once the surfaces are dry, use fine-grit sandpaper to sand down the existing finish. This will help the new paint adhere better and create a smooth surface. Make sure to sand in the direction of the wood grain. After sanding, wipe the surfaces with a damp cloth to remove any dust or debris.
By properly preparing your cabinets, you can ensure that the paint will adhere properly and last for years to come. Take your time and follow these steps carefully for the best results.
Applying Primer for a Smooth Finish
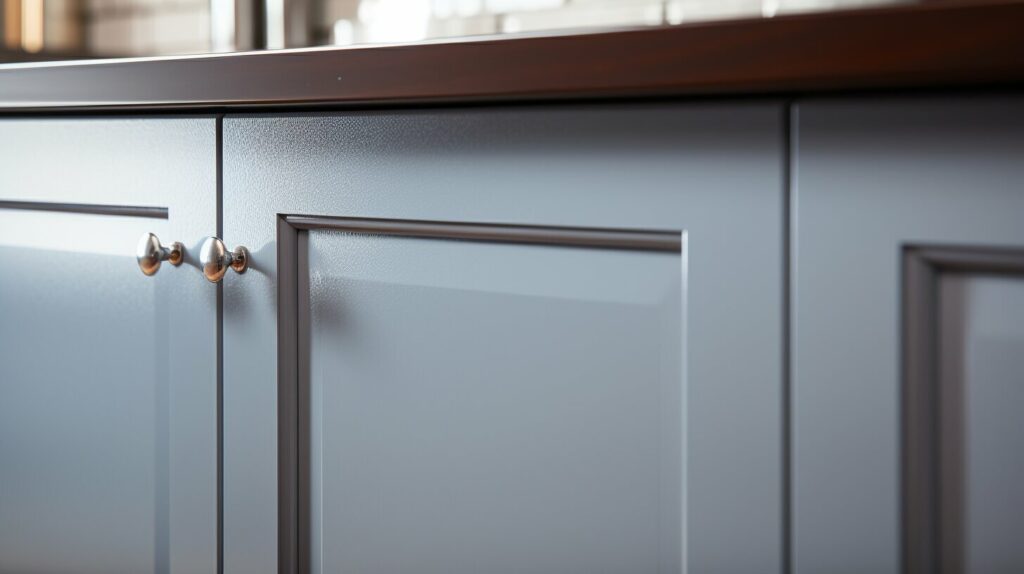
Before you start painting your kitchen cabinets, you need to apply a high-quality primer. A primer creates a smooth, even surface for the paint to adhere to and helps the paint last longer. It also blocks the tannins in wood from bleeding through the paint and prevents stains and discoloration.
When selecting the best primer for your kitchen cabinets, look for one that is specifically formulated for use on wood surfaces, such as oil-based or shellac-based primers. These types of primers dry hard and provide excellent adhesion, making them ideal for cabinet painting.
When it’s time to apply primer, there are a few different techniques you can use. A brush is ideal for small areas and can help you get into all the nooks and crannies. A roller is perfect for larger surfaces and can help you achieve an even coat quickly.
| Tip: | Don’t apply the primer too thickly. You want it to dry completely before applying your paint, and a thick layer can take a long time to dry. |
|---|
Once the primer has been applied, allow it to dry fully before sanding. Sanding will help remove any roughness or bumps and ensure a smooth finish. Wipe away the sanding dust with a clean cloth or tack cloth so that it doesn’t interfere with the paint.
Applying Primer for a Smooth Finish: Summary
- Apply a high-quality primer to create a smooth surface for the paint
- Choose a primer specifically formulated for wood surfaces
- Use a brush or roller to apply the primer
- Avoid applying the primer too thickly
- Sand the primer before painting to ensure a smooth finish
Painting Your Kitchen Cabinets
Now that you’ve prepared your cabinets, it’s time to start painting! Be sure to follow these step-by-step instructions for the best results:
- Apply primer to all surfaces. Using a brush or roller, spread a thin coat of primer over all areas that will be painted. Make sure to allow the primer to dry completely before moving on to the next step.
- Apply the first coat of paint. Using the same technique as with the primer, apply a thin coat of paint to all surfaces. Avoid overloading your brush or roller to prevent drips and ensure an even coat. Wait for the first coat to dry completely, then apply a second coat if needed.
- Let the paint dry. After the final coat of paint has been applied, allow your cabinets to dry completely. This may take several hours or overnight, depending on the humidity and temperature in your kitchen.
- Reattach hardware and reassemble. Once the paint has completely dried, reattach all hardware and reassemble your cabinets. Make sure to handle them carefully to avoid any scratches or smudges.
Keep in mind that the painting process may take longer than expected, especially if you’re using a darker colour or painting both sides of the cabinet doors. Be patient and allow each coat to dry before proceeding with the next. With some time and effort, the end result will be a beautiful, refreshed kitchen space that you’ll love spending time in!
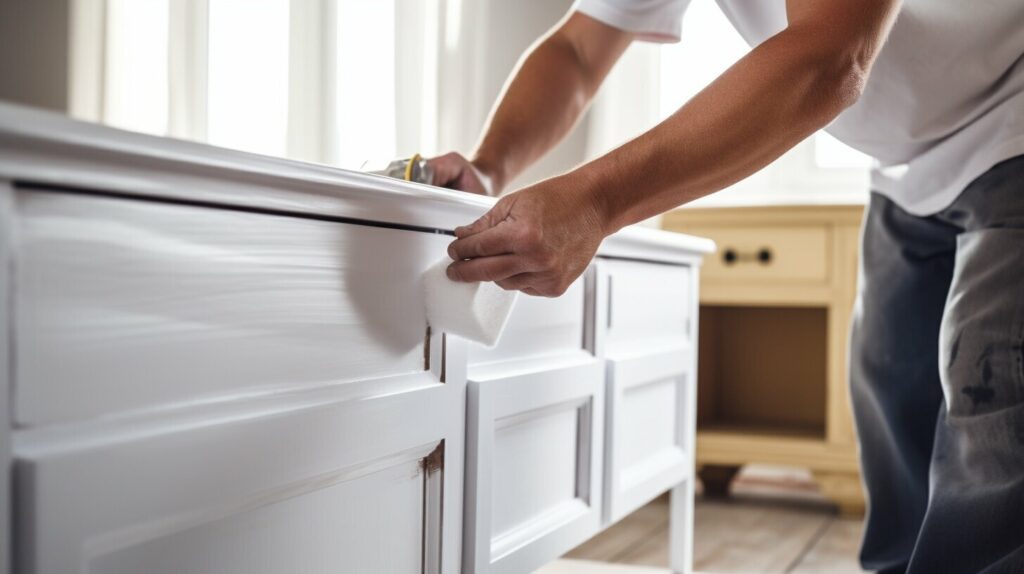
Remember, the quality of the paint you use can make a huge difference in the final outcome. Choose a durable, high-quality paint that’s specifically formulated for cabinets to ensure a long-lasting finish that can stand up to everyday use.
Adding Finishing Touches
Now that you’ve completed the major steps of your kitchen cabinet makeover, it’s time to add those special finishing touches. Consider adding new hardware that complements your kitchen’s style, such as sleek handles or vintage knobs. You may also want to add decorative trim or molding, which can give your cabinets a more custom look.
If you notice any imperfections in the paint finish, don’t worry. You can easily touch up any chips or scratches with a small brush and some touch-up paint. Just be sure to let the touch-up paint dry completely before using the cabinets again.

Overall, your newly painted kitchen cabinets are sure to make a big impact on the look and feel of your entire kitchen space. With a little bit of effort and some attention to detail, you can enjoy a stylish and functional kitchen that reflects your unique personality and taste.
Drying and Curing Time
After painting your kitchen cabinets, patience is key when it comes to allowing them to dry and cure properly. The drying time for painted cabinets can vary depending on several factors, such as the type of paint used, humidity, and temperature.
Generally, it’s recommended to wait at least 24-48 hours for the paint to dry completely before handling or reassembling the cabinets. However, for optimal results, it’s best to wait up to a week for the paint to fully cure and harden.
During this time, it’s important to avoid touching the painted surfaces or placing any objects on them, as this can cause smudging or indentation. If possible, keep the painted cabinets in a well-ventilated area with a consistent temperature and low humidity to promote proper drying and curing.
Once the cabinets are fully cured, you can reattach the doors and hardware and enjoy your newly transformed kitchen space!
Maintaining and Cleaning Painted Cabinets
Congratulations! You’ve successfully painted your kitchen cabinets and transformed your space into a stylish and modern area. Now that the project is complete, it’s important to properly maintain and clean your newly painted cabinets to ensure their longevity.
To keep your cabinets looking their best, avoid using harsh cleaning chemicals or abrasive scrubbers, as these can damage the paint finish. Instead, opt for a gentle cleaner specifically designed for painted surfaces.
When cleaning your cabinets, start by wiping down the surface with a soft cloth or sponge. For stubborn spots, use a slightly damp cloth or sponge with the cleaning solution. Avoid using too much water, as excess moisture can cause the paint to peel or warp.
To prevent scratches or dents, use caution when handling heavy pots and pans or other kitchen items. Consider adding felt pads to the bottom of frequently used items to prevent damage to the cabinet surface.
By taking these simple steps, you can keep your painted cabinets looking like new for years to come.
Remember, painting your kitchen cabinets is a great DIY project that can completely transform your living space. With the right tools, materials, and techniques, you can achieve professional-looking results at a fraction of the cost of a full kitchen renovation.
Conclusion
Congratulations! You’ve completed the DIY project of painting your kitchen cabinets and have transformed the look of your kitchen space. By following the step-by-step guide and using the right tools and materials, you have achieved a professional-looking finish.
Remember to allow sufficient drying and curing time for the paint to be fully set before reassembling the cabinets. Once they are ready for use, be sure to maintain and clean them properly to ensure their longevity.
Overall, painting kitchen cabinets is a cost-effective and easy way to give your kitchen a fresh, stylish look. We hope you found this article helpful and encourage you to take on the project. Happy painting!


